I saved nearly four minutes off my Olympic-distance bike split after finally getting my aero bars dialed in properly. That is not marketing fluff, that is what happened when I stopped guessing and started following a systematic setup process.
If you are new to triathlon or time trialing, adding clip-on aero bars to your road bike is one of the most cost-effective upgrades you can make. Done right, a proper aero position can save you 50 to 70 watts over a standard upright road position. Done wrong, you will be uncomfortable, slow, and potentially unsafe.
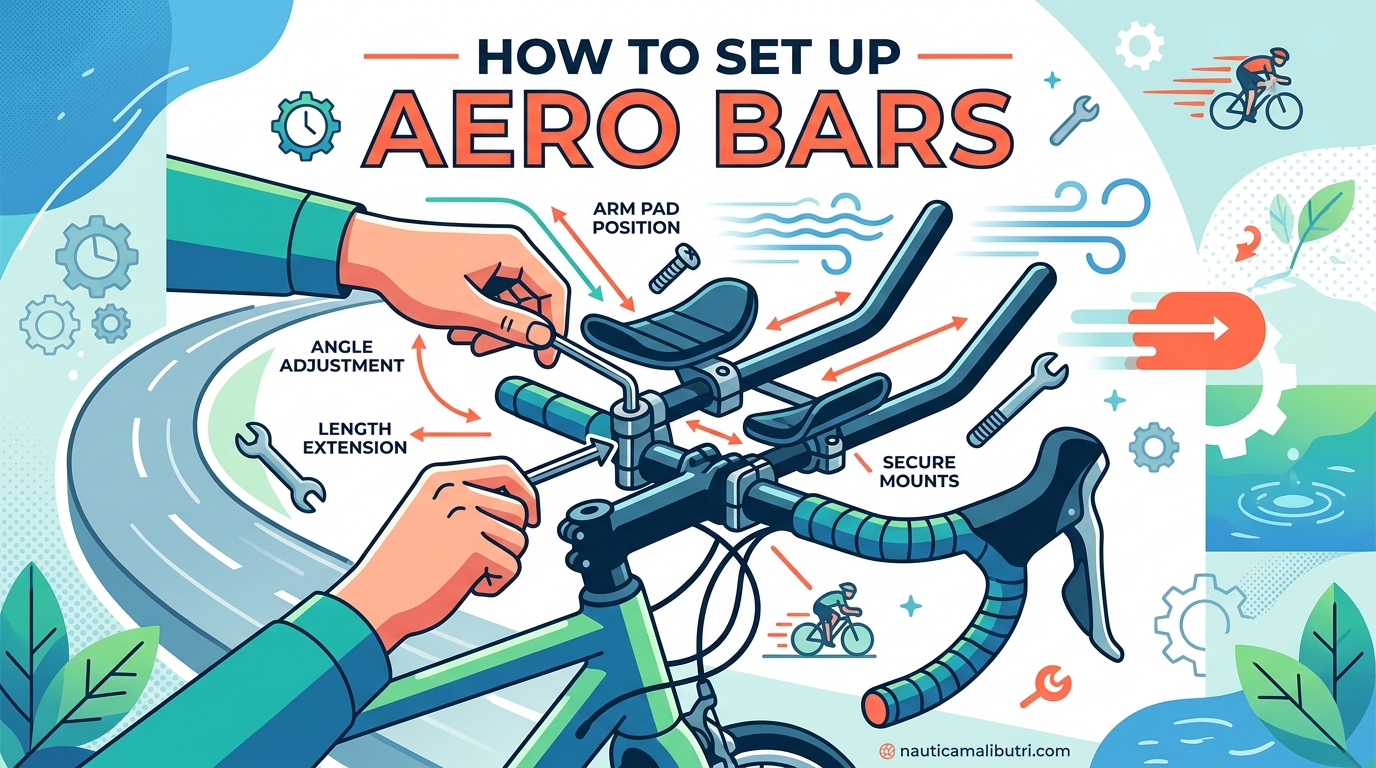
This guide walks you through exactly how to set up aero bars step by step, based on my own trial-and-error experience and advice from professional bike fitters I have worked with over the past three seasons.
Table of Contents
What Is Aero Position and Why It Matters
Being “aero” means reducing your frontal area to cut through the wind with less resistance. When you ride in the drops on a standard road bike, you are somewhat aerodynamic. But aero bars take this further by letting you rest your forearms on padded cups while your hands grip extensions out in front.
This position drops your torso lower and brings your arms closer together, shrinking the amount of wind that hits your body. The result is meaningful time savings. At typical triathlon race speeds, a proper aero position can save you 2 to 4 minutes over a 40-kilometer bike leg compared to riding on your hoods.
Aero bars are primarily used by triathletes and time trialists. Most road racers avoid them because they reduce quick access to brakes and can make handling unpredictable in tight packs.
What You’ll Need Before You Start
Gather these tools before you begin the installation. Having everything ready will save you from mid-setup trips to the garage.
Essential tools: A set of Allen keys (usually 4mm, 5mm, and 6mm), a torque wrench if you have one, and grease or carbon paste for the clamping surfaces.
Check your handlebar diameter: Most road handlebars are 31.8mm at the clamp area, but some older or specialty bars are 26.0mm or 25.4mm. If your aero bars do not fit snugly, check whether the manufacturer included shims in the packaging. This is a common pain point I have seen repeatedly in forum discussions. Many riders panic when their bars feel loose, not realizing shims are included specifically for this situation.
Optional but helpful: A bike stand makes this much easier. If you do not have one, ask a friend to hold the bike steady while you work.
How to Set Up Aero Bars: Step-by-Step
Follow these steps in order. Skip a step and you will likely end up redoing your work later.
Step 1: Clean your handlebars
Remove any accessories that will be in the way. Clean the clamping area thoroughly with isopropyl alcohol. Oil, sweat, and old bar tape residue can cause slipping even when bolts are tight.
Step 2: Test fit without tightening
Position the base bar clamps on your handlebars roughly where you think they should go. Do not tighten anything yet. You want to be able to slide everything around as you dial in the position.
Step 3: Set your elbow cup width
This is where most beginners go wrong. Your elbows should be positioned so your upper arms are close to vertical when viewed from the front. Your elbows should sit inside the line of your quads when pedaling. Start wider than you think you need. You can always go narrower once you are comfortable.
Step 4: Adjust extension angle
The extensions are the forward-pointing bars you actually grip. These should angle slightly upward from the elbow cups. A slight upward tilt of 10 to 20 degrees works well for most riders. Your hands should rest naturally without you having to reach upward or bend your wrists excessively.
Step 5: Match your drops position
Here is the trick that made the biggest difference for me. Set your aero position to match your body angle when riding in the drops. Your hip angle and back angle should be nearly identical between the two positions. This ensures you are not introducing a position your body is not ready for.
I learned this from a TrainerRoad forum thread where experienced riders kept repeating the same advice: start by matching your aero position to your drops position. Once you are comfortable there, you can gradually lower the bars if you want a more aggressive position.
Step 6: Tighten to torque specs
Now tighten everything according to manufacturer specifications. Use a torque wrench if you have one. Do not overtighten carbon components. If you do not have a torque wrench, tighten until snug, then add a quarter turn. Check tightness after your first few rides.
Elbow Pad Positioning
Getting the elbow pads right is critical for comfort over long rides. Your forearms should rest on the pads without pressure points.
Width spacing: A good starting point is shoulder-width apart. If you are unsure, err on the side of wider. Narrower positions are more aerodynamic but harder to sustain and can compromise bike handling. I started at shoulder width and gradually moved inward over several months as my stability improved.
Height adjustment: If your aero bars sit too low and you feel cramped or experience neck pain, you may need riser blocks. Many clip-on models include these. They sit between the base clamp and the arm cups to raise the height. You want your hips to open up slightly, not be forced into a sharp angle.
Pad rotation: Most elbow pads can rotate slightly. Angle them so they follow the natural line of your forearms when you are in position.
Fine-Tuning Your Aero Position
Installation is just the beginning. Fine-tuning takes time and incremental adjustments.
Saddle adjustments: When you move to aero bars, your weight shifts forward. Many riders find they need to slide their saddle slightly forward and up a few millimeters to maintain proper leg extension. Make small changes, 2 to 3 millimeters at a time, and test over several rides.
Test before committing: Do not set your aero bars the day before a race. Give yourself at least two to three weeks of training rides to adapt to the position and make tweaks.
Incremental lowering: If your goal is a lower, more aggressive aero position, lower the bars gradually. Try 5 millimeters lower, ride for a week, then reassess. Your body needs time to adapt to new flexibility demands.
Common Mistakes to Avoid
I have made most of these mistakes myself. Learn from my errors.
Going too narrow too fast: Narrow arm positions look fast and pro, but they destroy your stability and breathing if you are not ready for them. Start wider.
Setting bars too low: A slammed aero position is pointless if you cannot hold it. You will end up riding on your hoods anyway, losing all aero benefits.
Ignoring brake access: Practice reaching your brakes from the aero position before you need them in an emergency. Know where your levers are without looking.
Not checking bolt tightness: Vibration loosens bolts. Check your aero bar clamps before every long ride. I check mine weekly during race season.
Installing without shims: If your bars wobble no matter how tight you make them, you likely need shims. Do not just crank the bolts harder. You will damage your handlebars.
Safety Considerations
Aero bars are not appropriate for every situation. Knowing when to use them and when to avoid them keeps you and others safe.
When NOT to use aero bars: Group rides, technical descents, high-traffic roads, and any situation requiring frequent braking or quick handling changes. In most jurisdictions, aero bars are banned in mass-start road races specifically for safety reasons.
Handling limitations: Steering from the aero position is less precise than from the hoods or drops. Small movements are amplified. Avoid sharp turns and rough surfaces when in aero.
Practice in safe areas: Before riding aero on open roads, practice in a parking lot or quiet neighborhood. Learn how your bike responds to weight shifts and bumps.
Group riding etiquette: Never use aero bars in a pace line or group ride. It is dangerous and universally considered bad etiquette.
Frequently Asked Questions
How should aero bars be positioned?
Position aero bars so your upper arms are close to vertical and your elbows sit inside the line of your quads when pedaling. The extensions should angle slightly upward. Your body angle should match your drops position as a starting point.
How to set up clip on aerobars?
Clean your handlebars, test fit the clamps without tightening, set elbow cup width at shoulder width or slightly wider, angle extensions upward 10-20 degrees, match your position to your drops, then tighten to manufacturer torque specifications.
How far should aero bars be apart?
Start with elbow pads at shoulder width or slightly wider. This provides stability and comfort while you adapt. You can gradually narrow the position over time as your handling skills improve.
Why do cyclists not use aero bars?
Road cyclists and racers avoid aero bars because they reduce quick access to brakes, make handling less predictable in groups, and are banned in most mass-start road races. They are primarily used for time trials and triathlons.
How low should you go in aero position?
Start at a height that matches your drops position. Only lower the bars gradually, 5mm at a time, over weeks of adaptation. Going too low too fast causes discomfort and makes the position unsustainable.
How to get comfortable in aero position?
Start with a conservative position matching your drops. Use riser blocks if needed to raise the height. Ride short intervals at first and gradually extend duration. Ensure your saddle is positioned forward slightly to maintain proper hip angle.
Final Thoughts
Setting up aero bars correctly takes patience, but the payoff is worth it. A proper aero position will make you faster without requiring you to train harder. That is free speed.
Remember the fundamentals: match your aero position to your drops as a starting point, start wider with elbow pad spacing, and lower the position gradually over time. Check your bolts regularly and never sacrifice safety for aerodynamics.
If you are still unsure about your setup, consider a professional bike fit. The cost is modest compared to the performance gains and injury prevention benefits. Now get out there and ride fast.