Standing in the middle of a transition area before your first triathlon feels overwhelming. Hundreds of bikes line the racks. Athletes in wetsuits rush past you. You wonder if you will find your spot, remember your gear, or break some rule you did not know existed.
I have been there. My first transition took over six minutes because I panicked and could not find my bike. After 15 races, I now average under two minutes in both T1 and T2. Understanding how triathlon transitions work saves you time and eliminates race-day stress.
This guide walks you through everything you need to know about transitions. You will learn the step-by-step process for both T1 and T2, the critical rules that could get you disqualified, and practical tips from real triathletes who have made every mistake in the book.
Table of Contents
What Is a Triathlon Transition (T1 and T2 Explained)
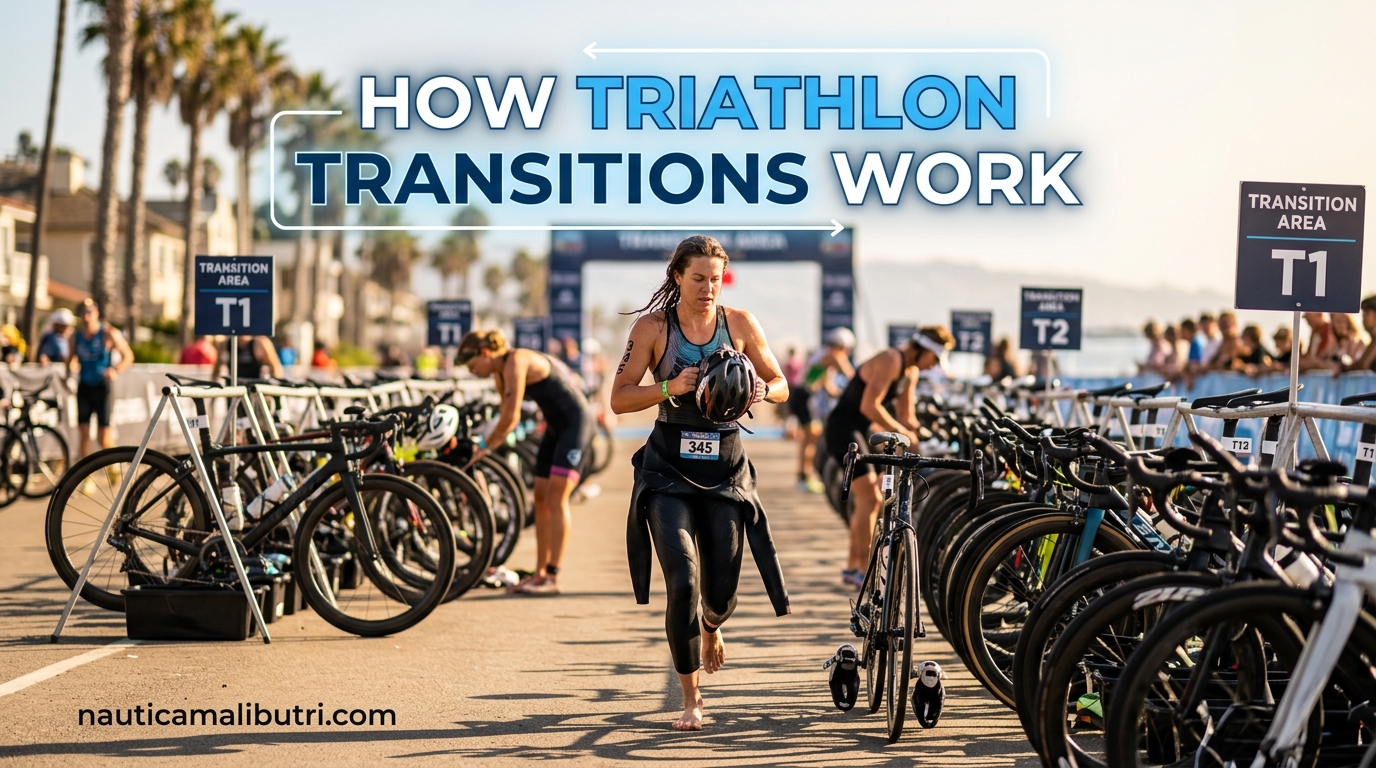
A triathlon transition is both a physical area and an action. The transition area is the roped-off zone where you change gear between disciplines. The transition itself is the process of swapping equipment and moving from one sport to the next.
T1 (Transition 1) is the swim-to-bike change. You exit the water, run to your spot, remove your wetsuit and swim gear, put on your helmet and cycling shoes, then run your bike out to the mount line.
T2 (Transition 2) is the bike-to-run change. You finish the bike leg, dismount at the designated line, rack your bike, swap your cycling shoes for running shoes, and head out on the run course.
Every second you spend in the transition area counts against your total race time. You are not swimming, cycling, or running. You are just standing there changing clothes. A smooth transition can save you two to four minutes compared to a chaotic one.
Beginners often stress most about transitions. The good news is that transitions require no special fitness. They are pure technique and preparation. With practice, anyone can master them.
How to Set Up Your Triathlon Transition Area
Arriving at a well-organized transition area sets you up for success. Most races assign you a specific bike rack spot based on your race number. Get there early to claim the best position on the rack.
Step 1: Find your assigned rack and locate your specific slot. Count the number of bikes from a landmark like a swim exit or end of rack. Memorize this number.
Step 2: Lay down a small towel to mark your territory. This creates a clean surface for your feet and makes your spot visually distinct. Bright colors help you spot your area quickly when you are wet and tired.
Step 3: Organize your gear in the order you will need it. Place your bike helmet hanging from the handlebars or aerobars. Set your cycling shoes in front of the bike if you are not wearing them on the bike already. Put your running shoes with socks (if you use them) near the front of your towel.
Step 4: Attach your race number belt to your bike or lay it on your towel. Some athletes loop it around their bike seat for easy grabbing.
Step 5: Place any nutrition you need on your bike or in your pockets. Do a final walk-through. Touch each item in the order you will grab it during the race.
Keep your area minimal. Race officials may remove excessive gear that spreads into neighboring spots. One towel, your shoes, helmet, and race belt are all you really need.
How Triathlon Transitions Work: T1 (Swim to Bike)
T1 starts the moment you exit the water. Your heart is racing. Your legs feel wobbly. Here is the exact sequence to follow.
Step 1: Run from the swim exit to the wetsuit strippers if your race offers them. These volunteers help peel your wetsuit off quickly. If no strippers are available, run straight to your bike.
Step 2: Find your spot using the visual cues you memorized. Look for your colored towel or count bikes to your location.
Step 3: Remove your wetsuit completely. Peel it down to your waist first, then pull each leg off. Some athletes sit to do this. Others stay standing. Do what works for you, but sitting costs extra seconds.
Step 4: Put on your helmet and buckle it before you touch your bike. This is a critical rule. If you touch your bike with an unbuckled helmet, you risk a time penalty or disqualification.
Step 5: Put on your cycling shoes if you are carrying them. Many triathletes wear their cycling shoes already clipped into the pedals. They run barefoot to the mount line and jump on the bike there. This is called a flying mount and takes practice.
Step 6: Grab your bike from the rack by the seat or handlebars. Run with it held upright to the mount line.
Step 7: At the mount line, get on your bike and pedal away. You cannot mount before this line. Officials watch for violations.
A fast T1 takes 90 seconds to two minutes for experienced athletes. Beginners often need three to five minutes. The key is staying calm and following the same sequence every race.
How Triathlon Transitions Work: T2 (Bike to Run)
T2 feels easier because you are not dealing with a wetsuit. But the bike-to-run transition has its own challenges. Your legs feel like jelly when you first start running.
Step 1: As you approach the dismount line, slow down and unclip one foot. Swing your leg over the saddle and coast the last few meters with one foot on the pedal and one foot free.
Step 2: At the dismount line, step off the bike completely. You must have both feet on the ground before crossing this line. Running with your bike is allowed. Riding past the line is not.
Step 3: Run with your bike to your rack spot. Rack your bike properly. Most races require you to hang your bike by the seat or handlebars on the designated bar.
Step 4: Remove your helmet only after racking your bike. This is the reverse of T1. Bike goes on the rack first, then helmet comes off.
Step 5: Put on your running shoes. Elastic laces are a game-changer here. After a hard bike leg, your hands may shake. Trying to tie shoelaces with trembling fingers wastes precious seconds. Elastic laces let you slip your feet in and go.
Step 6: Grab your race number belt and put it on as you run. Some athletes put it on in the transition area. Others do it while jogging to the run exit. Either works.
Step 7: Exit the transition area and start the run. Your legs will feel heavy for the first half mile. This is normal. Push through it.
A good T2 time is 60 to 90 seconds. Beginners often take two to three minutes. The bike dismount and shoe change are where most time is won or lost.
Essential Triathlon Transition Gear Checklist
Less is more in your transition area. Every item you bring is one more thing to think about. Here is what you actually need.
Must-Have Items:
- Bike helmet (mandatory for all races)
- Cycling shoes (or running shoes if using hybrid pedals)
- Running shoes
- Race number belt with bib attached
- Small towel for marking your spot and drying feet
- Timing chip (usually worn on ankle during whole race)
Recommended Additions:
- Elastic laces for running shoes
- Sunglasses for bike and run
- Nutrition (gels, bars) in pockets or on bike
- Water bottle on bike (usually filled at aid stations)
Leave These at Home:
- Extra clothing layers (you will not change)
- Multiple shoe options (decide before the race)
- Large bags (they clutter the area)
- Valuables (transition areas are secure but not guaranteed)
Keep everything on one small towel. When you return from the swim, you want to find your gear instantly. A messy area adds stress and time.
Key Transition Rules Every Triathlete Must Know
Breaking transition rules leads to time penalties or disqualification. These rules exist for safety. Know them before race day.
Rule 1: Helmet must be buckled before touching your bike. This is the most commonly broken rule. In T1, secure and buckle your helmet before you unrack your bike. In T2, rack your bike before removing your helmet.
Rule 2: Mount and dismount only at designated lines. You cannot get on your bike until you cross the mount line leaving transition. You must get off before the dismount line entering transition. Officials watch these lines closely.
Rule 3: Ride your bike, do not carry it, outside the mount/dismount lines. Once past the mount line, you must be pedaling. Pushing your bike outside the transition area is a penalty.
Rule 4: Rack your bike properly. Most races require hanging by the seat or designated points. Do not lean your bike against the rack. It could fall and cause a hazard.
Rule 5: No outside assistance in transition. Friends and family cannot enter the transition area. Volunteers can help with wetsuit stripping only in designated zones. You must handle your own gear.
Rule 6: Keep your race number visible on the run. Your bib must face forward during the run portion. In T2, put on your number belt before exiting.
Penalties vary by race. Common penalties are two to four minutes added to your total time. Serious violations like riding without a helmet result in disqualification. When in doubt, ask a race official before the start.
Common Transition Mistakes to Avoid
Every triathlete makes mistakes in their first few races. Learn from these common errors so you do not repeat them.
Mistake 1: Panicking and forgetting the sequence. Your heart rate spikes coming out of the water. You might grab your bike before your helmet. Take a breath. Stick to your practiced routine.
Mistake 2: Not finding your bike spot. In large transition areas, all the bikes look the same. Athletes wander rows looking for their gear. Use a bright towel. Count racks from a landmark. Do a pre-race walk-through.
Mistake 3: Tying shoelaces with shaking hands. After the bike leg, your hands tremble from effort and adrenaline. Fumbling with laces costs minutes. Switch to elastic laces for T2.
Mistake 4: Mounting before the line or forgetting to dismount. Race excitement makes you forget rules. Set a mental trigger. When you see the mount line, that is your signal to get on. When you see the dismount line, get off.
Mistake 5: Bringing too much gear. Clutter slows you down. Decide your strategy before the race. Lay out only what you need. Practice with that exact setup.
Mistake 6: Not practicing transitions. You would not skip swim, bike, or run training. Do not skip transition practice either. A few dry runs at home save minutes on race day.
How to Practice Your Transitions
Smooth transitions come from muscle memory. You do not want to think on race day. You want to act. Here is how to train transitions like any other discipline.
Brick Workouts: These combine two disciplines in one session. After a bike ride, immediately run a short distance. Practice your T2 dismount, racking, and shoe change. Do this five times in a row until it feels automatic.
Dry-Land Practice: Set up a mock transition area in your driveway or living room. Lay out your towel, bike, helmet, and shoes. Practice T1 and T2 sequences without water or actual riding. Time yourself. Aim to get faster each session.
Visualization: Before race day, close your eyes and walk through each step. Picture yourself exiting the swim, finding your spot, and moving through T1. Do the same for T2. Mental rehearsal builds confidence and reduces race-day nerves.
Pre-Race Walk-Through: Arrive early on race morning. Walk from the swim exit to your bike rack. Count the rows. Note landmarks. Walk from your bike to the mount line. Then walk from the bike entry to your spot, then to the run exit. Do this twice. Knowing the flow eliminates uncertainty.
The Nothing New Rule: Race day is not the time to try new gear or techniques. Use the same setup you practiced. New shoes, new nutrition, or new mounting techniques create stress and mistakes.
I spend 20 minutes on transition practice twice a week during race season. That investment pays off with faster times and calmer race mornings.
Frequently Asked Questions About Triathlon Transitions
How do you set up your triathlon transition area?
Arrive early and find your assigned rack spot. Lay a bright towel to mark your area. Place your helmet on the bike handlebars, cycling shoes in front of the bike, and running shoes near the front of your towel. Attach your race number belt to your bike seat. Keep your setup minimal and organized. Do a walk-through touching each item in the order you will need it.
How do you find your bike during the race?
Use visual cues to locate your spot quickly. Count the number of bike racks from a landmark like the swim exit or a specific banner. Use a bright colored towel to make your area stand out. Memorize your rack row number before the race. Do a pre-race walk-through from the swim exit to your bike so the path feels familiar.
How do you know where to go in transition?
Study the transition area layout during pre-race check-in. Walk through the flow before the race starts. Follow the marked paths and signs. Watch other athletes if you are unsure. Race officials and volunteers are stationed throughout to direct you. Stay calm and follow the designated entry and exit points.
What is T1 and T2 in a triathlon?
T1 (Transition 1) is the change from swim to bike. You remove your wetsuit, put on your helmet and cycling shoes, and run your bike to the mount line. T2 (Transition 2) is the change from bike to run. You dismount at the line, rack your bike, remove your helmet, and put on your running shoes. Both transitions count against your total race time.
What gear do I need in my triathlon transition area?
Essential gear includes your bike helmet, cycling shoes, running shoes, race number belt, a small towel, and your timing chip. Recommended additions are elastic laces for quick shoe changes, sunglasses, and any nutrition you want on the run. Keep your setup minimal. Extra gear creates clutter and confusion.
What are the rules for triathlon transitions?
Key rules include: helmet must be buckled before touching your bike; mount your bike only after the mount line; dismount before the dismount line; rack your bike properly by the seat or handlebars; no outside assistance allowed in the transition area; and your race number must be visible on the run. Breaking these rules results in time penalties or disqualification.
How long does a triathlon transition take?
Experienced triathletes complete T1 in 90 seconds to two minutes and T2 in 60 to 90 seconds. Beginners typically take three to five minutes for T1 and two to three minutes for T2. With practice, you can save several minutes off your total race time. Every second in transition counts, but smooth is faster than rushed.
Can you sit down in transition?
Yes, you can sit down in transition if needed, but it adds time to your transition. Most competitive triathletes stay standing to save seconds. Beginners may sit to remove wetsuits or put on shoes more easily. Choose what works for your skill level and confidence. Practice both ways to see which is faster for you.
Final Thoughts on How Triathlon Transitions Work
Transitions are the hidden discipline of triathlon. They do not require the fitness of swimming, cycling, or running. They require preparation and practice. Every minute you save in transition is a minute you do not need to make up on the course.
Understanding how triathlon transitions work eliminates race-day anxiety. You know what to expect. You know the rules. You have a practiced routine. When other athletes panic, you move through your steps with confidence.
Start practicing your transitions today. Set up a mock area in your home. Run through T1 and T2 until they feel automatic. Your future self will thank you when you hit your first mount line with seconds to spare and a smile on your face.