
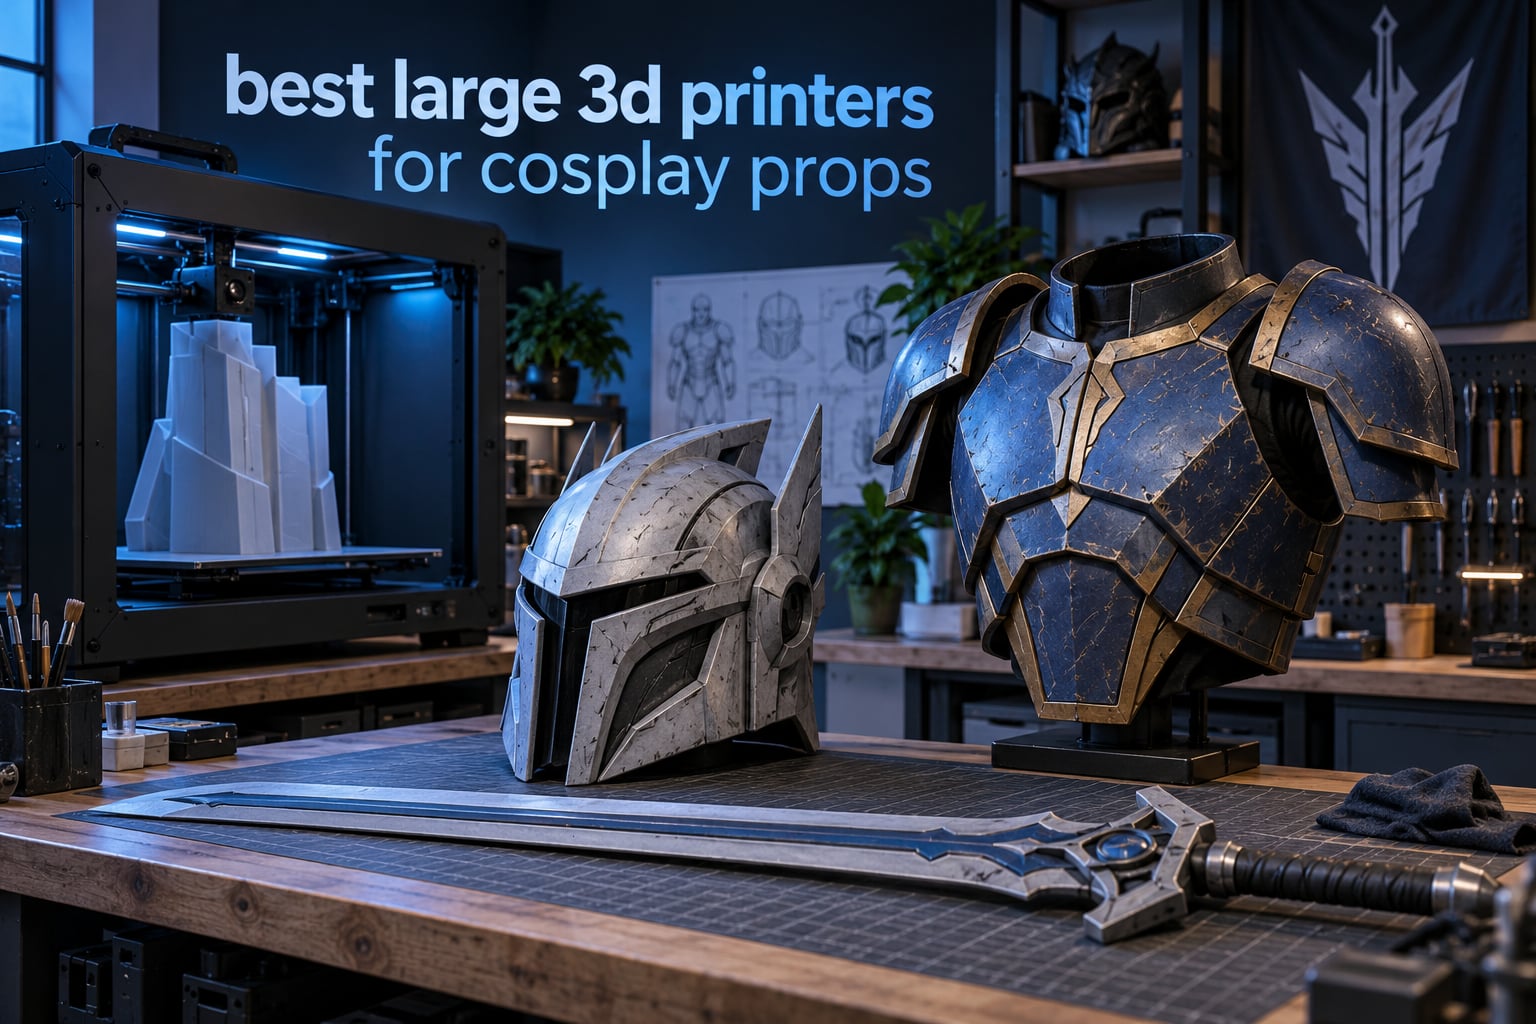
The best large 3D printers for cosplay props are the machines that give you room to print a helmet, chestplate or prop weapon in one piece instead of slicing it into six segments and hoping the seams line up at the convention. Build volume decides that, not speed. A fast printer with a 220mm bed still forces you to glue, and glue seams are where paint chips and joints fail.
We spent weeks reading owner feedback across thousands of verified ratings on the machines below, comparing build volume, verified throughput, chamber temperature and the filament each one actually handles well. Our short answer: the ANYCUBIC Photon Mono M7 Max takes the top slot because it carries the highest average rating and the deepest owner base in this group, and it prints a full-size mask surface at a resolution that needs almost no sanding.
If you want the FDM side covered too, we have a separate roundup on the best large format 3D printers for prototyping, and if your build schedule is tight rather than your budget, start with a small reliable machine instead. You can read those in our guide to the best 3D printers for beginners.
One thing cosplayers consistently get wrong is buying on advertised speed. Marketing figures of 600 to 800 mm/s describe short travel moves inside a small machine, not a 30-hour helmet print on a 400mm plate. What matters for a deadline is whether the machine holds quality on a long, tall build, keeps the bed stuck down as the heated chamber warps the frame, and needs you to babysit it at hour nine.
Everything below is written for 2026 buyers, and we updated the list as the current generation of enclosed and belt machines matured. Prices move constantly, so use the check buttons for current listings rather than trusting any number written in a review from two years ago.
Table of Contents
Top 3 Picks for Large Cosplay Builds in 2026

Photon Mono M7 Max
- 298 x 164 x 300 mm resin volume
- 7K mono LCD
- Up to 60 mm/h print speed
- 1300 ml temperature-controlled vat

Creality K2 Plus Combo
- 350 mm cube build volume
- Up to 16 colors via four CFS units
- 60°C actively heated chamber
- 350°C hardened steel nozzle
Sovol SV08 MAX
- 500 x 500 x 500 mm cube volume
- 700 mm/s with 40
- 000 mm/s² acceleration
- Eddy current bed scanning
- 300°C high-flow hotend
Those three cover very different jobs. The M7 Max is a resin machine built for surface quality on masks and helmets. The K2 Plus is the pick if you want accent colors and stripes printed straight off the plate rather than hand-painted at 2am. The SV08 MAX is the pick if your prop simply does not fit anywhere else.
Best Large 3D Printers for Cosplay Props (October 2026)
| Product | Specifications | Action |
|---|---|---|
| ANYCUBIC Photon Mono M7 Max |
|
Check Latest Price |
| Creality K2 Plus Combo |
|
Check Latest Price |
| Sovol SV08 MAX |
|
Check Latest Price |
 Creality K2 Pro Combo Creality K2 Pro Combo |
|
Check Latest Price |
 QIDI Max4 Combo QIDI Max4 Combo |
|
Check Latest Price |
 Creality Ender 5 Max Creality Ender 5 Max |
|
Check Latest Price |
 IdeaFormer IR3 V2 Belt Printer IdeaFormer IR3 V2 Belt Printer |
|
Check Latest Price |
 ELEGOO Jupiter 2 ELEGOO Jupiter 2 |
|
Check Latest Price |
Two things stand out in the table. Six of these eight are FDM machines, and two are resin, which tells you where the real split in cosplay tooling sits right now. FDM owns volume and multi-material; resin owns surface quality on anything you wear on your face.
How Big of a 3D Printer Do I Need for Cosplay?
You need a build volume of at least 300 x 300 x 300 mm for a one-piece full-size helmet, 400 x 400 mm of flat bed for a chestplate or backplate, and an open height above 300mm for a mask that includes a jaw. Anything smaller and you are back to segmented prints, tape seams and filler primer across every join.
The mapping is straightforward once you measure your own STL file. Open the model in your slicer, look at the X, Y and Z bounding box numbers, and buy the printer whose volume clears those numbers with 5 to 10mm of clearance on each axis. Clearance matters because a model printed edge to edge tends to lift at the corners.
Here is how the sizes translate in practice for the pieces cosplayers actually build:
Full-size helmet with a closed jaw — roughly 300 x 300 x 300 mm. The 300mm cube machines fit it, but only just, so rotate the model to put the narrow dimension across the bed.
Chestplate or backplate — often 400 x 400 mm of footprint but only 15 to 25mm thick. This is the easiest large piece, because height is irrelevant and flat beds handle it well.
Shoulder pauldron — about 350 x 350 x 200 mm once you allow for the dome curvature. A 300mm cube needs a split print here.
Gauntlet or forearm armor — 250 x 250 x 200 mm. This fits on almost everything on this list, including the resin machines.
Oversized prop weapon or a full droid torso — 500mm class or a belt printer. Nothing in the sub-500mm range handles these cleanly.
Do the layer math before you commit. A 300mm tall helmet at a 0.2mm layer height is 1,500 layers, and every one of those layers is a chance for a bed adhesion failure to end your print at hour eight. That is the number that actually predicts whether you make your convention deadline, and it is why the machines with real heated chambers or resin platforms sit higher on this list than their open-frame rivals.
1. ANYCUBIC Photon Mono M7 Max – Best Detail Finish for Full-Size Masks
ANYCUBIC Photon Mono M7 MAX Resin 3D Printer, 13.6’’ 7K Large Resin Printer
- Highest average rating in this group at 4.3 stars
- 7K mono screen produces low-aliasing surfaces
- 1300 ml heated vat cuts failures on big volumes
- 60 mm/h speed is 200% faster than the previous generation
- Resin workflow needs ventilation gloves washing and curing
- 298 mm width means tall armor plates will not fit in one go
This is the printer we recommend to anyone whose prop goes on their face. A helmet is the hardest cosplay piece to finish because every surface is visible at conversation distance, and resin gives you a surface that needs far less work than any FDM layer stack. The 7K mono LCD and LighTurbo 3.0 COB light source keep the light angle within 3 degrees and uniformity above 90%, which is the difference between clean curves and a visibly stepped jawline.
In practice the reason it earned the top spot is not resolution, it is consistency. The dynamic temperature control on the vat keeps resin viscosity stable as a 1300 ml reservoir slowly depletes, and the Smart Release 2.0 film system means you are not fighting the build platform halfway through a mask. Models finish suspended above the platform so resin drains back to the vat rather than pooling on the surface you spent 14 hours printing.
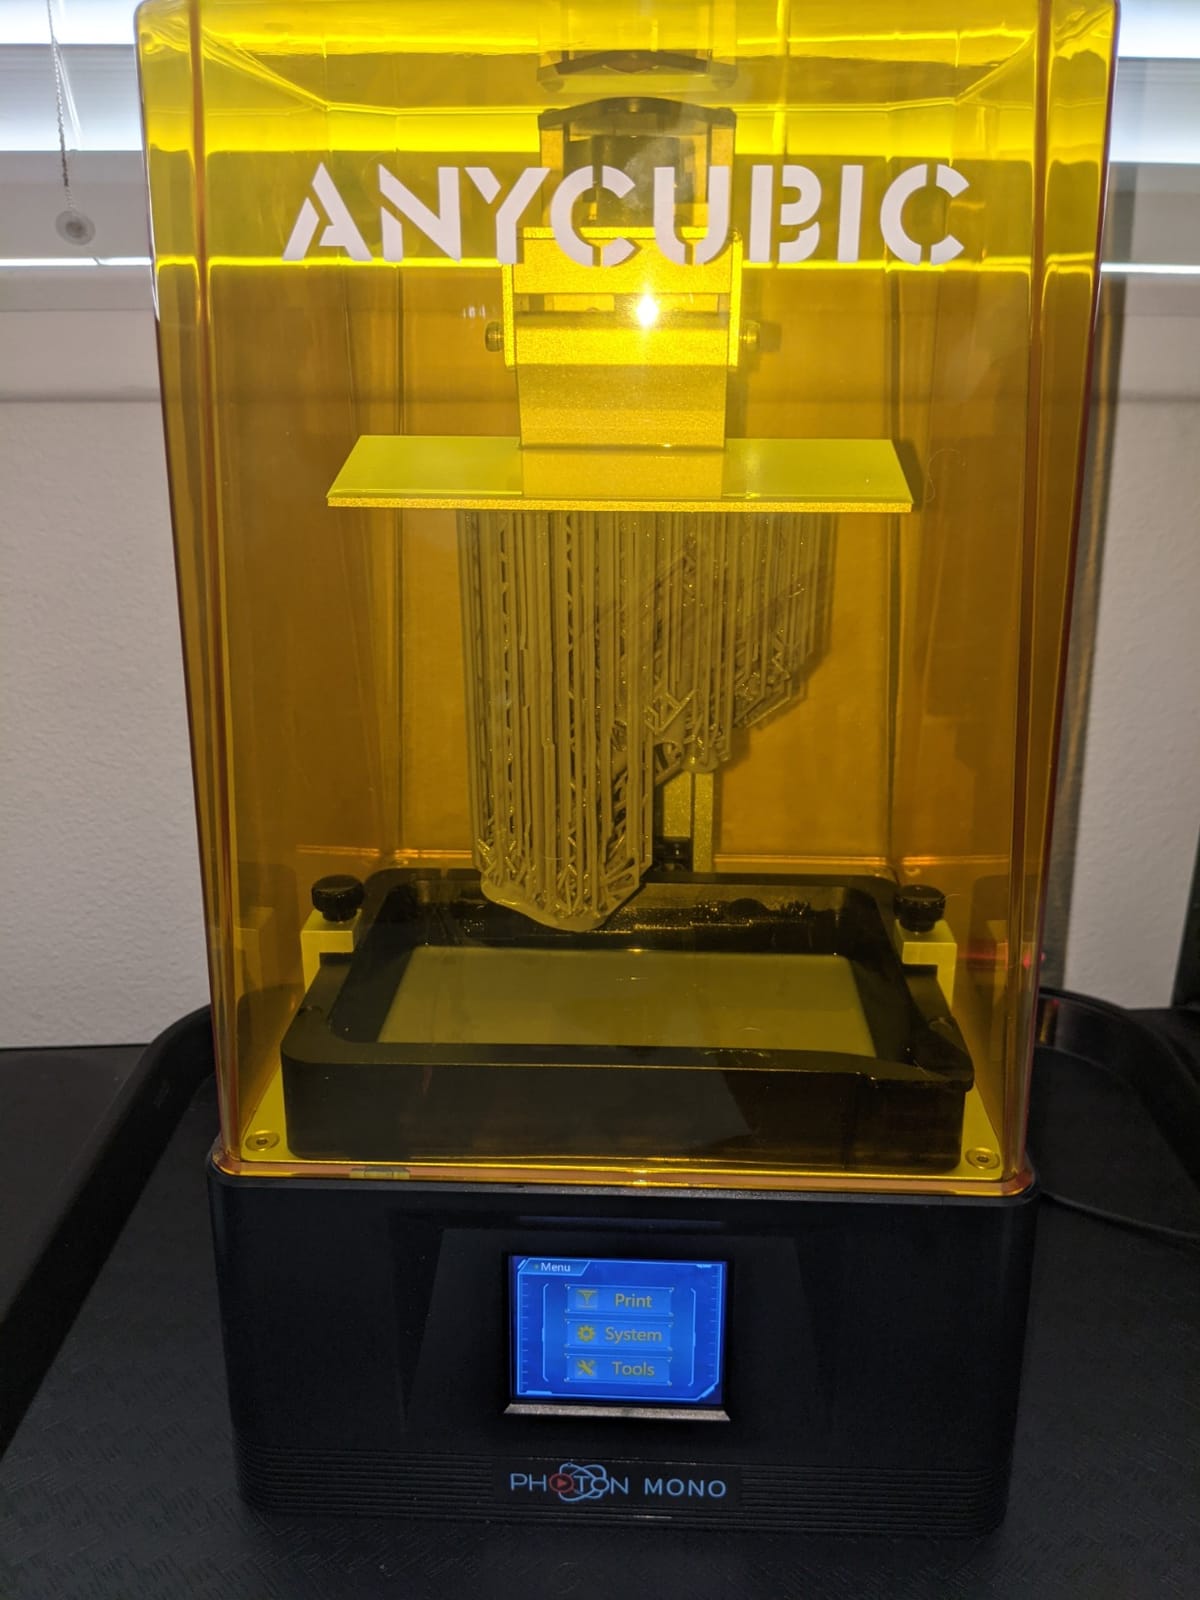
Owner feedback on this machine concentrates on speed, screen quality and the simple fact that full-size masks fit without being cut down. The 60 mm/h figure is genuinely faster than the previous M3 Max generation, and on a detailed visor or a mask shell that difference is hours saved rather than a spec sheet line.
The build volume is 298 x 164 x 300 mm. That is plenty of length and height for a mask, but the 164mm width is the catch. Curved pauldron shells and wide chest trim will not lay flat within that width, so budget for splitting those pieces and joining them off the printer.
Who the Photon Mono M7 Max suits
Anyone building a helmet, a mask with a visor, a stylized resin prop or a display-scale bust. If your finish quality is what gets judged at a table, this is the machine that buys you the least post-processing time.
It also suits people who print a lot of the same small detail work between big jobs. At up to 60 mm/h with a heated vat, it turns over pieces quickly, which suits commission work where you owe someone a set of masks by a date.
Who should skip the Photon Mono M7 Max
Skip it if you have never used resin. The workflow is gloves, ventilation, washing, curing, and a post-curing oven, and none of that is optional. If your workspace is a shared room with no extraction, an FDM machine is the safer choice for you.
Also skip it for large flat armor. A 164mm print width means a chestplate becomes a puzzle, and FDM does flat wide pieces far more efficiently.
2. Creality K2 Plus Combo – Best Multi-Color Armor Accents
- 350mm cube volume handles large props without splitting
- 16-color multi-material printing cuts hand-painting time
- 60°C chamber keeps ASA and PPA warp-free
- Dual AI cameras catch and pause on failures
- Four-CFS 16-color setup adds substantial cost
- 18 sensors and deep automation mean more failure points than a simple machine
- High purchase price for a prosumer large-format kit
This is the machine for cosplayers who are sick of masking and painting stripes. Four CFS units feed up to 16 colors, RFID filament identification and automatic switching mean a chestplate with three accent stripes comes off the plate in color, at 1am, without a single hand-painted edge.
The 350mm cube is the sweet spot dimension for cosplay specifically. It clears a one-piece helmet with clearance to spare, it takes a full chestplate footprint, and it does both without the sheer physical bulk of a 500mm cube machine. That balance is why it sits at the top of our FDM recommendations.
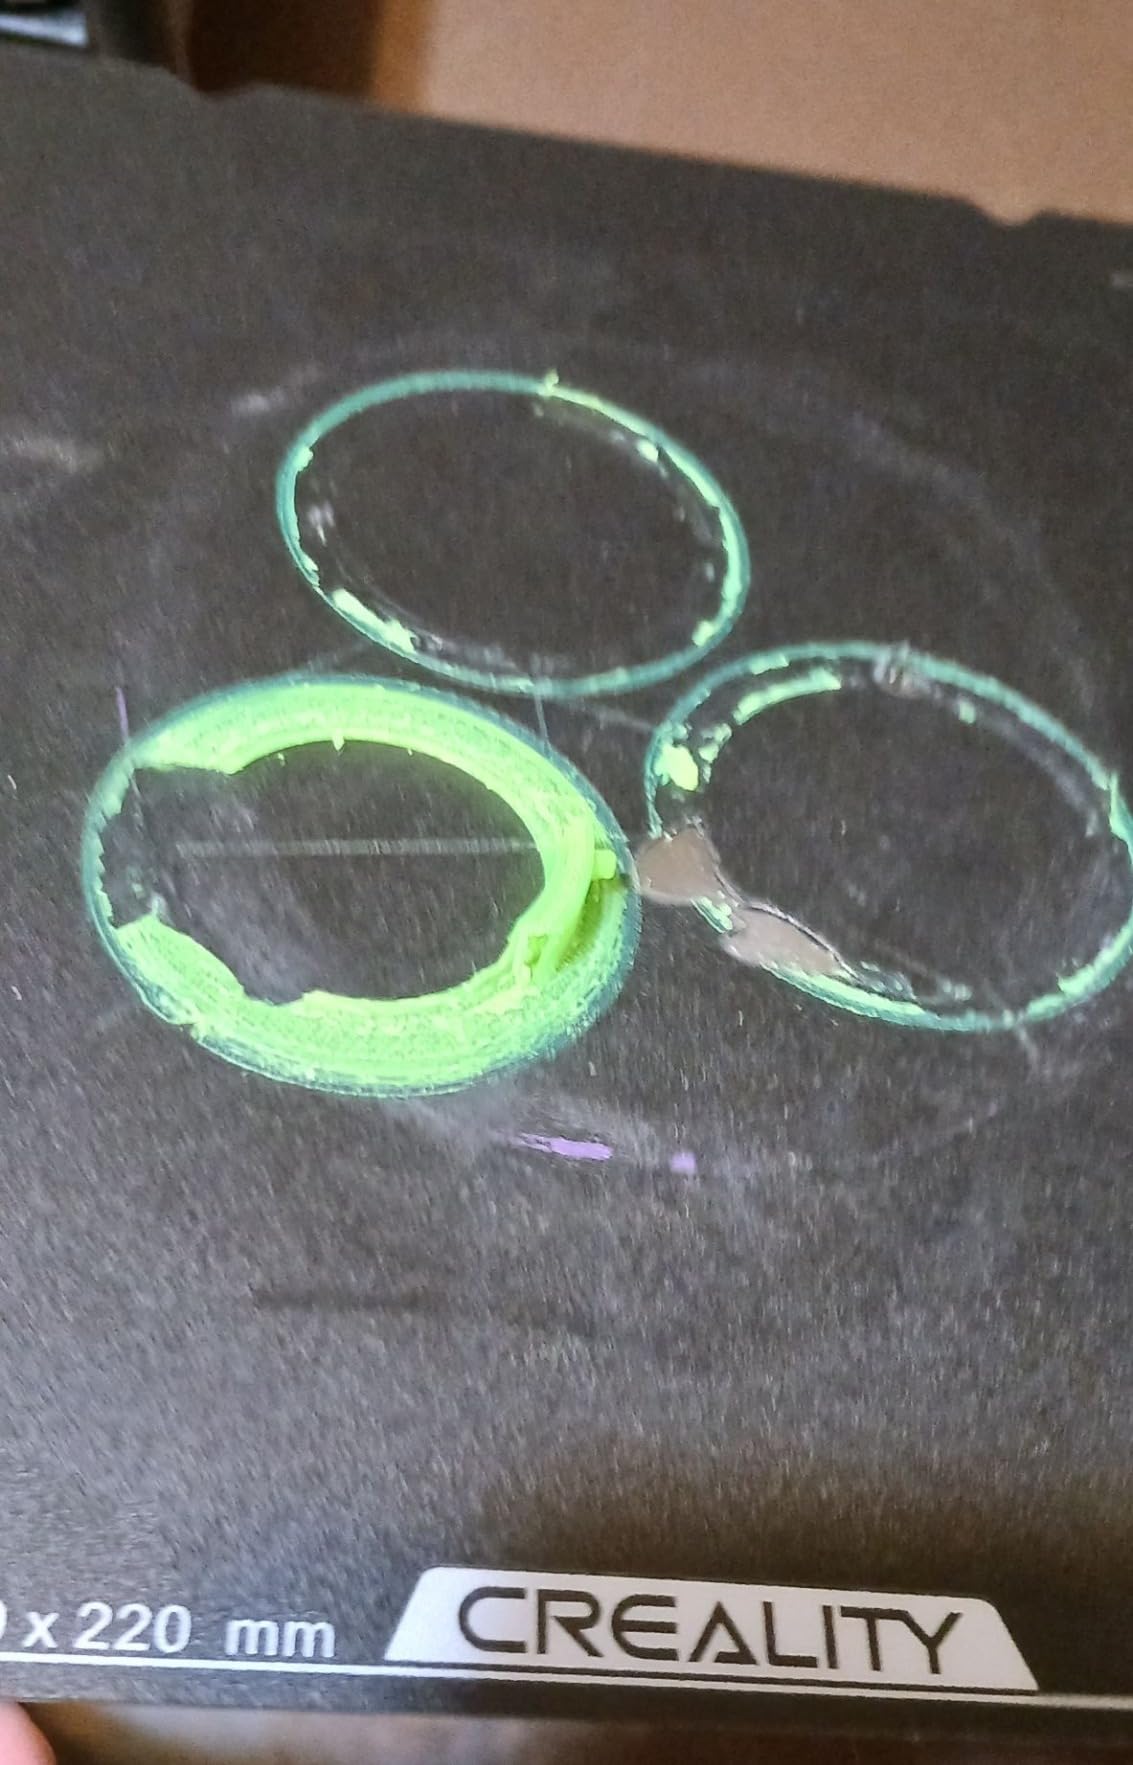
The active 60°C chamber is the part that matters most for armor. ABS and ASA armor printed in an open frame will curl at the corners no matter how good your bed adhesion is, because the temperature swing across the plate pulls the corners loose. A maintained 60°C chamber removes most of that failure mode, which is exactly the failure cosplayers hit hardest on long overnight prints.
Dual independently motorized Z-axis rods on a die-cast aluminum frame keep tall prints steady. On a helmet, where the whole build is Z height and any wobble shows up as a lumpy crown, that rigidity is worth more than raw speed. The dual AI cameras watch the chamber and toolhead, spot spaghetti failures and auto-tune flow, which saves filament when a print goes wrong overnight.
Who the K2 Plus Combo suits
Suitability starts with anyone whose design has multiple colors or materials: striped armor, two-tone visor frames, glowing trim translated into a second filament, or emissive accent panels.
It also suits builders working toward a convention who want to finish a prop in one weekend. Multi-material printing removes an entire finishing session from the schedule, and the 350°C hardened steel nozzle opens up ASA and PPA which most consumer machines cannot run reliably.
Who should skip the K2 Plus Combo
Skip it if you only ever print one color. Two of the three things you are paying for beyond a basic large printer, the extra CFS units and the deep automation, go unused, and you take on more failure surface than you need.
Reviewers do report a real learning curve, with a noticeable share of one-star feedback tied to early software and setup. If you want something you unbox and print on the same evening, this is not that.
3. Sovol SV08 MAX – Best for Oversized One-Piece Props
Sovol SV08 MAX CoreXY 3D Printer, Voron 2.4 700mm/s High Speed 3D Printers
- 500mm cube prints oversized props and armor in one piece
- Very high acceleration genuinely shortens time on large models
- Eddy current scanning levels the bed with no manual paper tests
- 300°C hotend takes composite and engineering filaments
- Heaviest FDM unit here at 86.8 pounds and needs a sturdy dedicated table
- Heated chamber module is a separate purchase needed for high-temperature materials
When a prop does not fit, nothing else in this list solves it. A 500mm cube handles a full droid torso, an oversized mech shoulder assembly or a wide cape-like armor piece in a single print, and that single-print result is worth a great deal when you are looking at seam lines on a curved surface under stage lights.
The CoreXY layout keeps the moving mass low, so a 500mm cube still holds accuracy across the bed. At 40,000 mm/s² acceleration and 50 mm³/s max flow, the machine moves material fast enough that a large print is not automatically an all-night affair. Owners consistently single out print time reduction as the headline benefit.
Eddy current bed scanning is a genuinely nice touch at this size. On a 500mm plate, a paper test is close to impossible, and sensors that physically measure the gap rather than probing at five points make a first print far more likely to succeed. The built-in 1280×720 camera with Obico integration adds cloud monitoring and failure detection for long unattended runs.
Two 0.4mm nozzles ship in the box and the 300°C hotend opens the door to PLA-CF, PETG-CF, PA and PC. Optional 0.6mm and 0.8mm nozzles are sold separately, and a large nozzle is a reasonable add-on if you are printing solid armor slabs rather than shells.
Who the SV08 MAX suits
It suits builders whose design genuinely exceeds 400mm in one dimension. Oversized props, big mech and droid pieces, and convention armor that needs to be one continuous shell all fall into that category.
It also suits a workshop with a proper table. At 86.8 pounds and 28 x 27.6 x 29.5 inches, this is a machine you plan the room around, not one you set on a desk.
Who should skip the SV08 MAX
Skip it if your largest piece is a pauldron. You will pay for cube volume you never use, and you will carry the weight and the footprint every day.
Skip it if you plan to print in ASA or nylon heavily. The heated chamber is a reserved interface only, so the module is a separate purchase, and without it high-temperature material is a fight on a plate this large.
4. Creality K2 Pro Combo – Best Value Enclosed Large-Format Printer
- Heated chamber and hardened extruder at a lower price than the flagship
- Bundle includes a CFS plus RFID filament and a hardened steel nozzle
- Dual AI cameras monitor the chamber and auto-tune flow
- Direct drive hardened gears handle carbon-fiber filaments
- 300mm cube is smaller than the larger machines here
- Only one CFS unit included so multi-color beyond four colors needs extra purchases
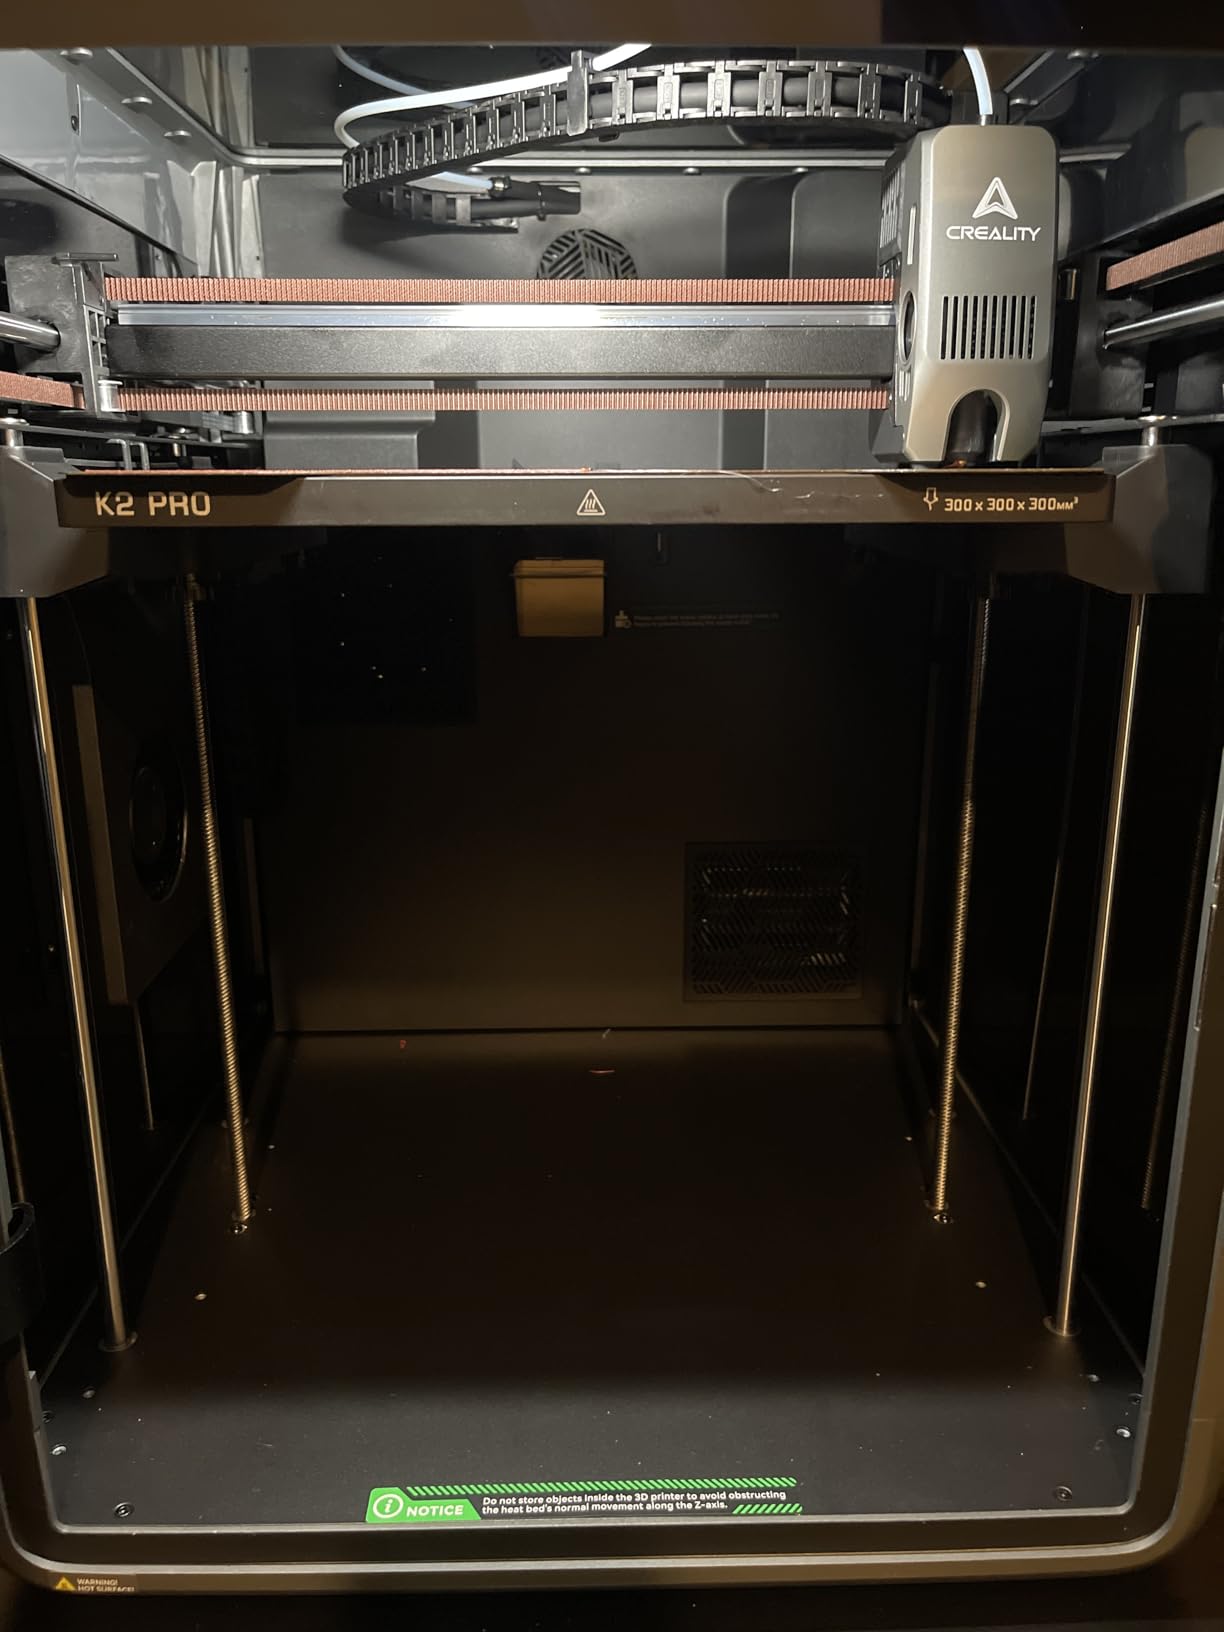
This is the version of the K2 platform that makes sense if the K2 Plus is more machine than your workshop needs. You keep the two features that actually protect a cosplay print, an actively heated 60°C chamber and a direct drive extruder with hardened gears, and you give up some build volume.
That combination is the sweet spot. The heated chamber is what stops ABS and ASA armor from curling, and hardened gears are what let you feed carbon-fiber filament without grinding the extruder into plastic dust. Zone-probing auto leveling cuts setup time, which matters a lot when you are moving between helmet, chestplate and prop jobs.
The box also includes one CFS unit, 500g of Hyper RFID filament and a hardened steel nozzle, so the multi-color path is there from day one rather than being an accessory you add later. Power-loss recovery and filament detection are standard, which on a 30-hour helmet print is the difference between losing an evening and losing a weekend.
The honest limitation is the 300mm cube. It fits a full-size helmet if you orient the model carefully, and it handles chestplates easily since those are flat. Wide pauldrons and oversized props are where you will end up splitting the file.
Who the K2 Pro Combo suits
It suits cosplayers upgrading from a small open-frame printer who want an enclosed machine with a heated chamber without stepping up to the flagship tier.
It also suits people who print a mix of colors on a smaller budget. Four colors are available from the included CFS, which covers most trim and stripe work on armor.
Who should skip the K2 Pro Combo
Skip it if your largest piece is a wide pauldron or anything over 300mm on the bed. There is no slicing trick that fixes a footprint limit, and the taller machines handle it natively.
Owner feedback does include early-software and reliability complaints on this newest revision, so budget for a setup period rather than assuming it prints perfectly on first power-on.
5. QIDI Max4 Combo – Best for High-Temperature Filaments
QIDI Max4 Combo 3D Printer, 390×390×340mm Build Volume, 65℃ Heated Chamber
- 65°C chamber handles ABS
- PC
- PPS-CF and CF nylon
- 390 x 390 mm footprint clears most chestplates and masks
- Closed-loop X/Y motors and anti-backlash Z screw hold precision on tall builds
- AI camera pauses on spaghetti failures to save filament
- Heaviest machine here at 120 pounds and needs a purpose-built table
- Polar Cooler accessory is not included
- Small review base of only 30 ratings from a recent release
- QIDI BOX multi-spool unit can tangle filament
The 65°C chamber is the headline here, and it is the number that separates this machine from every other enclosed printer on the list. When you are printing ASA, ABS, PC or carbon-fiber nylon, chamber temperature is not a comfort feature, it is the difference between a flat part and a warped one.
The 390 x 390 x 340 mm volume is unusual in a useful way. It is nearly as capable as a 400mm cube for flat and square work, while saving 60mm of height, which is height you do not need for a chestplate. For most cosplay pieces, that footprint is the dimension that matters.
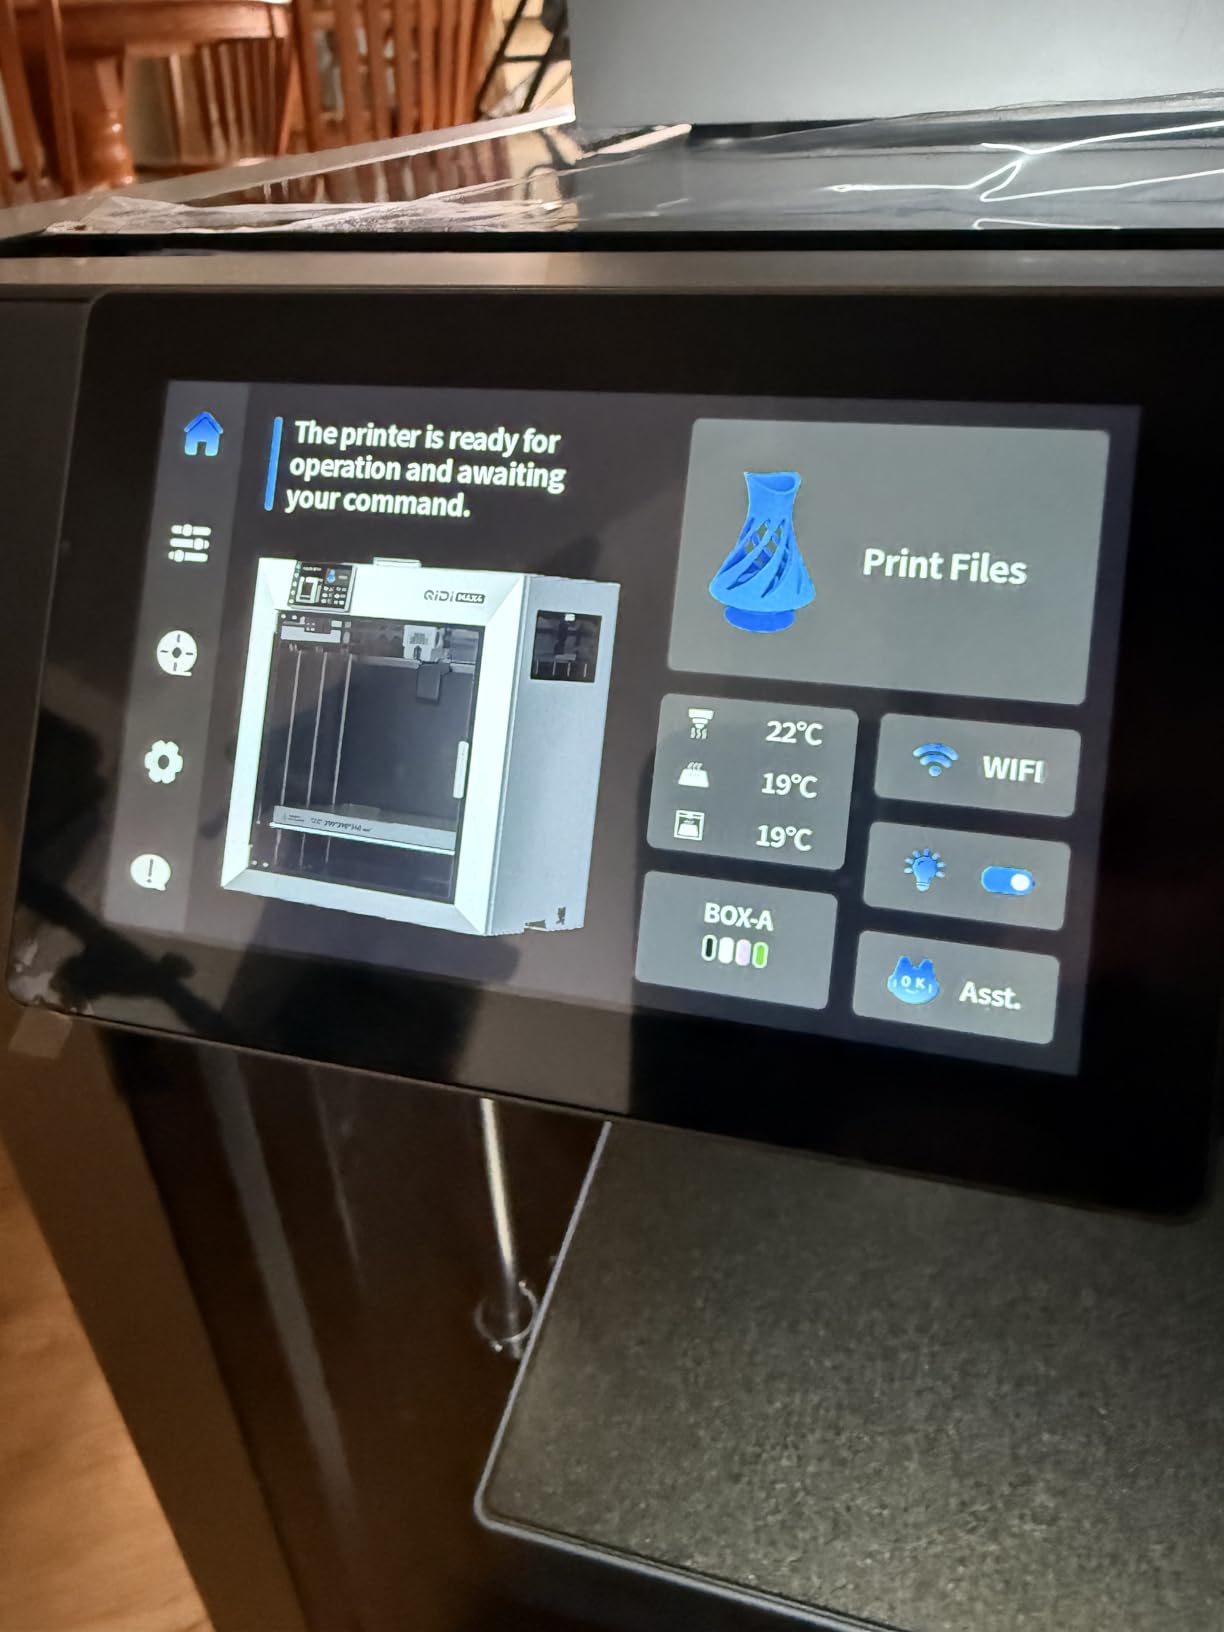
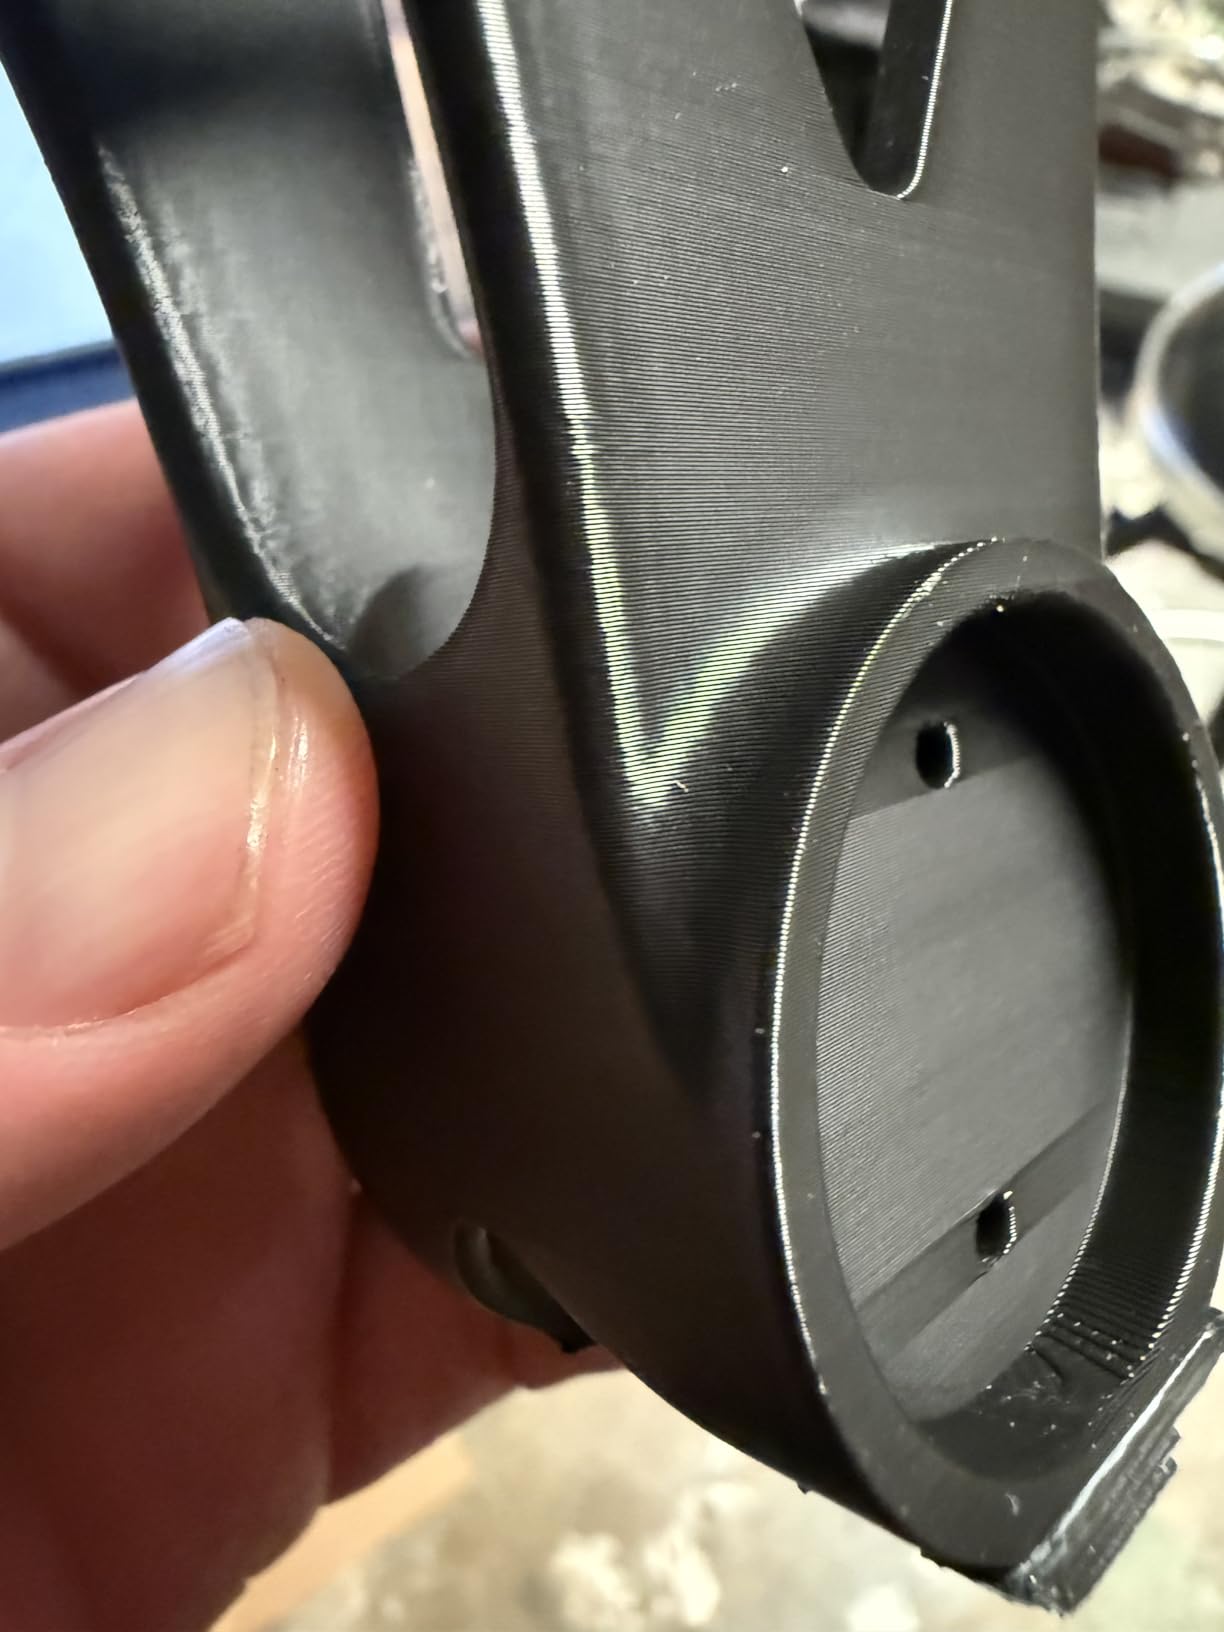
Owners of this newest machine describe an unusually smooth first-run experience, with no manual leveling, no paper tests and immediate calibration. Closed-loop motors on X and Y plus a 2mm lead screw with an anti-backlash nut on Z is a serious spec sheet for tall builds, and the AI camera that pauses on a spaghetti failure can save a 20-hour print.
The full-surface silicone heated bed is worth noting for large flat plates, since silicone grips a wide footprint more evenly than a bare PEI sheet at the corners. QIDI support also gets called out favorably by several reviewers for parts turnaround.
Who the QIDI Max4 Combo suits
It suits builders who print in engineering materials rather than plain PLA. If ASA, PC or nylon armor is part of your plan, the 65°C chamber removes a whole category of failures.
It also suits anyone who wants out-of-the-box calibration and dislikes tuning. The closed-loop motion system is designed to remove the manual steps that dominate large-format setup time.
Who should skip the QIDI Max4 Combo
Skip it if your workspace cannot take 120 pounds and 28 x 28 x 30 inches. This is the heaviest machine we tested, and it needs a real table, not a desk.
Skip it if you are risk-averse. With only 30 ratings on a recent release, the long-term reliability record simply does not exist yet, and a few buyers report factory assembly defects in the toolhead. The Polar Cooler accessory is a separate purchase if you plan to run abrasive filaments.
6. Creality Ender 5 Max – Budget Pick With a 400mm Cube
- Full 400mm cube volume at the lowest price among large-format FDM machines here
- Die-cast frame and linear rail hold accuracy on tall or heavy prints
- 64-point leveling and auto Z-offset remove manual bed calibration
- WLAN grouping suits running several machines in one workshop
- Ships without an enclosure
- so one is needed for ABS
- ASA and PA
- Reports of warped beds and finish separating from the plate
- Some buyers reported units breaking and slow parts replacement
- Slow bed heat-up time reported by users
Volume per dollar is the entire argument here. A full 400 x 400 x 400 mm cube from a die-cast aluminum frame with a CoreXY structure and a linear rail is unusual at this price point, and for someone whose limiting factor is build volume rather than finish quality, it is a genuinely strong machine.
The die-cast frame is what makes it credible at 400mm. Bed sag on a cheap extrusion frame shows up as a warped first layer on a big plate, and the cast frame is the reason this one holds. The dual-gear hardened direct drive extruder is built for long production runs rather than delicate display pieces.
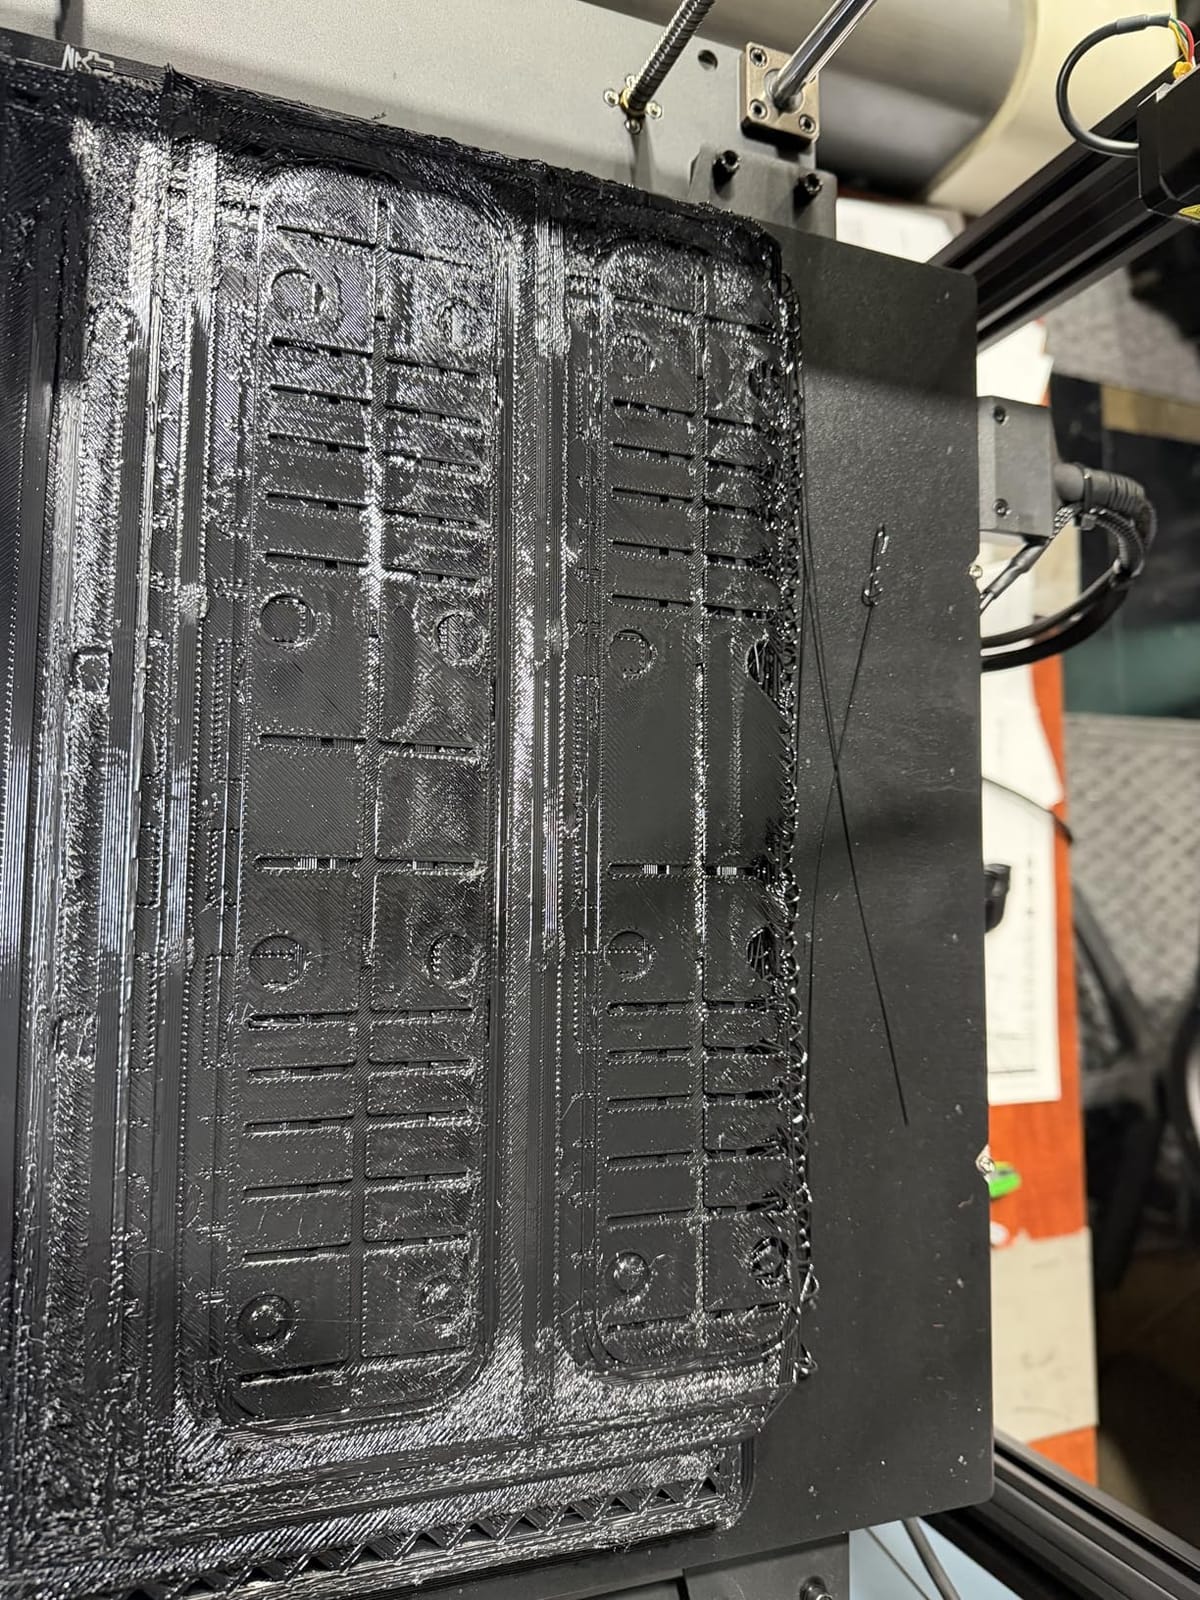
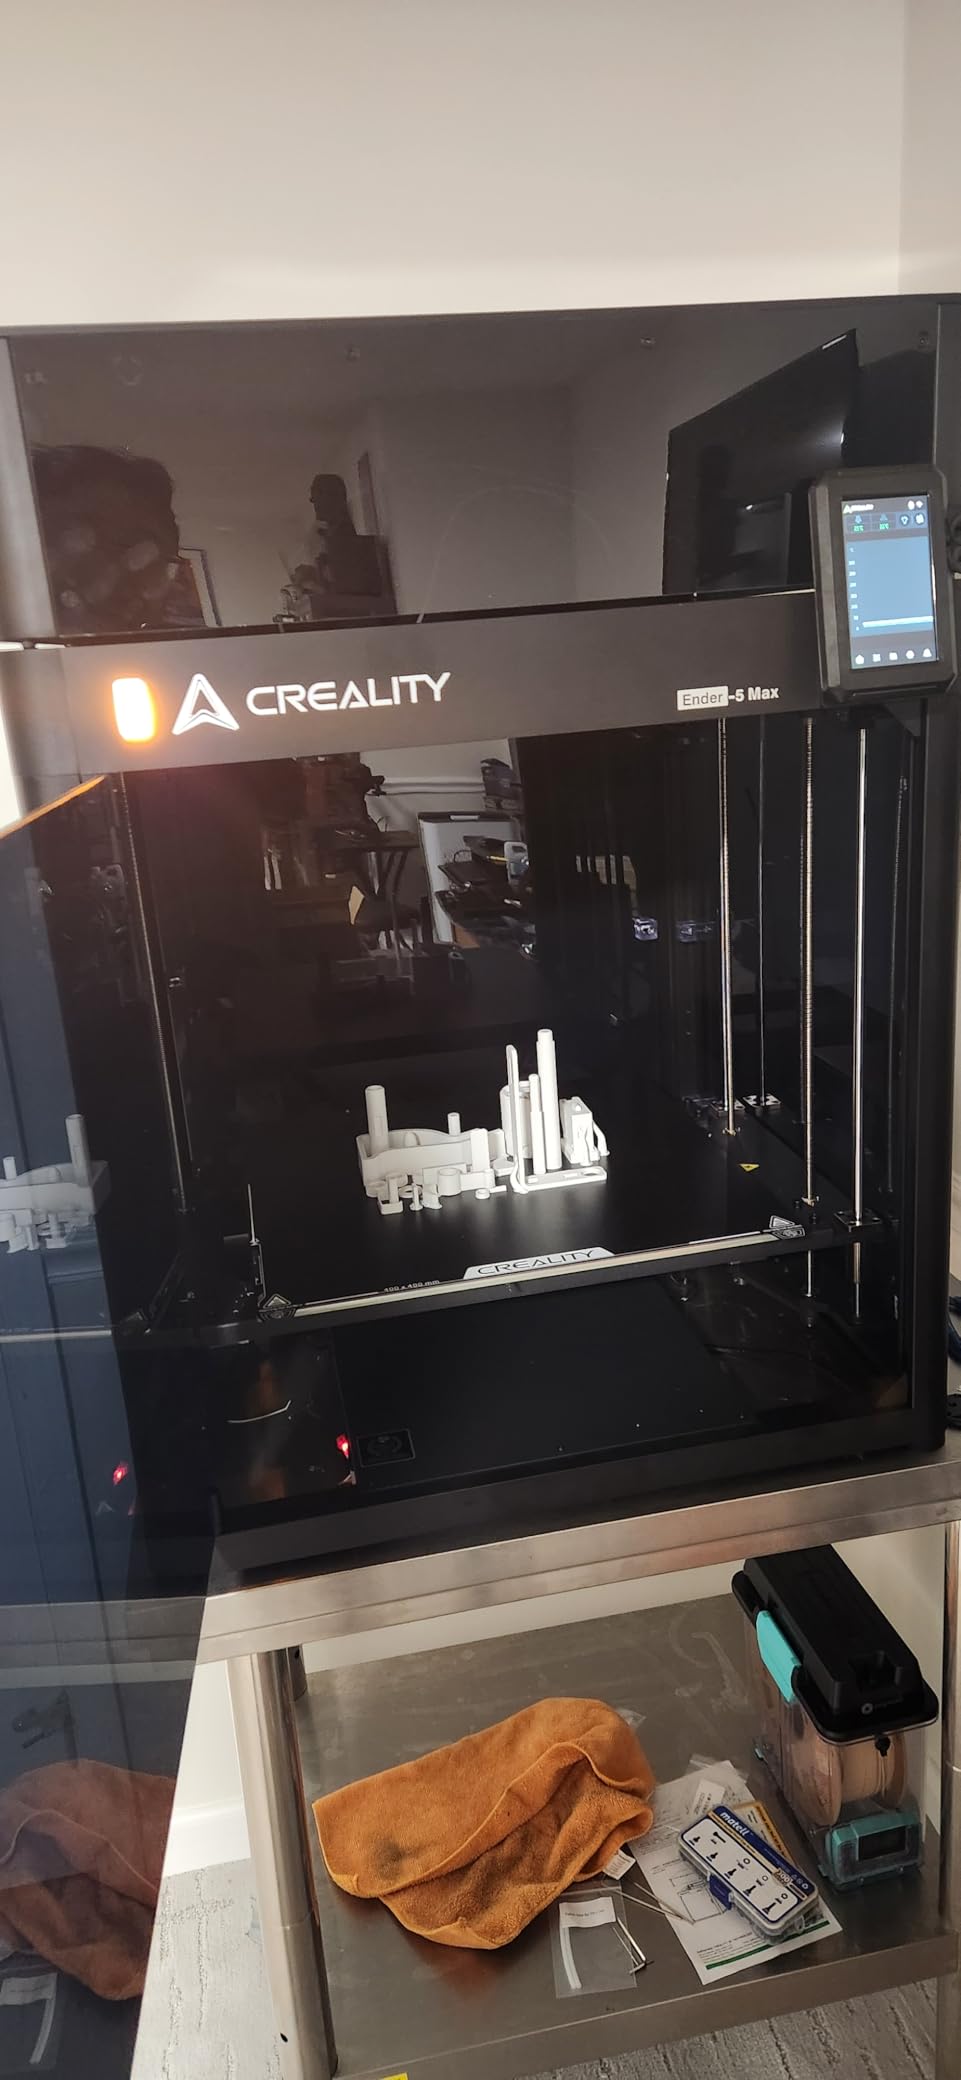
Two practical notes. First, this is a flat-packed unit that requires assembly, so budget an evening and expect the frame to be the heavy part of the build. Second, it ships without an enclosure, and owners who paired it with one describe it as a dependable workhorse across PLA, PETG, ASA and ABS.
That enclosure is not optional if you plan to print ABS or ASA. An open 400mm plate at temperature differential will lift corners, and a failed 30-hour print is the single most expensive mistake in this hobby. Also note it is not multi-color out of the box, so accent work means a later upgrade or hand painting.
Who the Ender 5 Max suits
It suits builders who already know what they are doing and want the most build volume possible. Assembly, bed prep and troubleshooting are all normal parts of the deal at this tier.
WLAN multi-printer grouping makes it a decent base for a small print farm, which is how you batch four identical pauldrons or a matched set of forearm armor over a weekend.
Who should skip the Ender 5 Max
Skip it if you want to print on day one. Assembly time, no enclosure, and reported quality-control issues with early units all add friction.
Skip it if finish is the priority. The epoxy build plate and FDM layer stack mean more sanding, more filler primer and more work than the resin machines on this list.
7. IdeaFormer IR3 V2 Belt Printer – Best for Swords and Long Weapons
- Only machine here with infinite Z height for seamless sword blades and spear shafts
- PEI-coated belt gives strong layer adhesion for unattended batches
- Klipper firmware means open tuning rather than a closed system
- 45-degree build geometry allows support-free hollowing on many models
- Not a beginner printer
- reviewers repeatedly stress the learning curve
- 45-degree geometry fails on models sliced for standard printers
- Belt is a consumable that can crack at the weld seam
- No multi-material unit and it runs louder than enclosed FDM machines
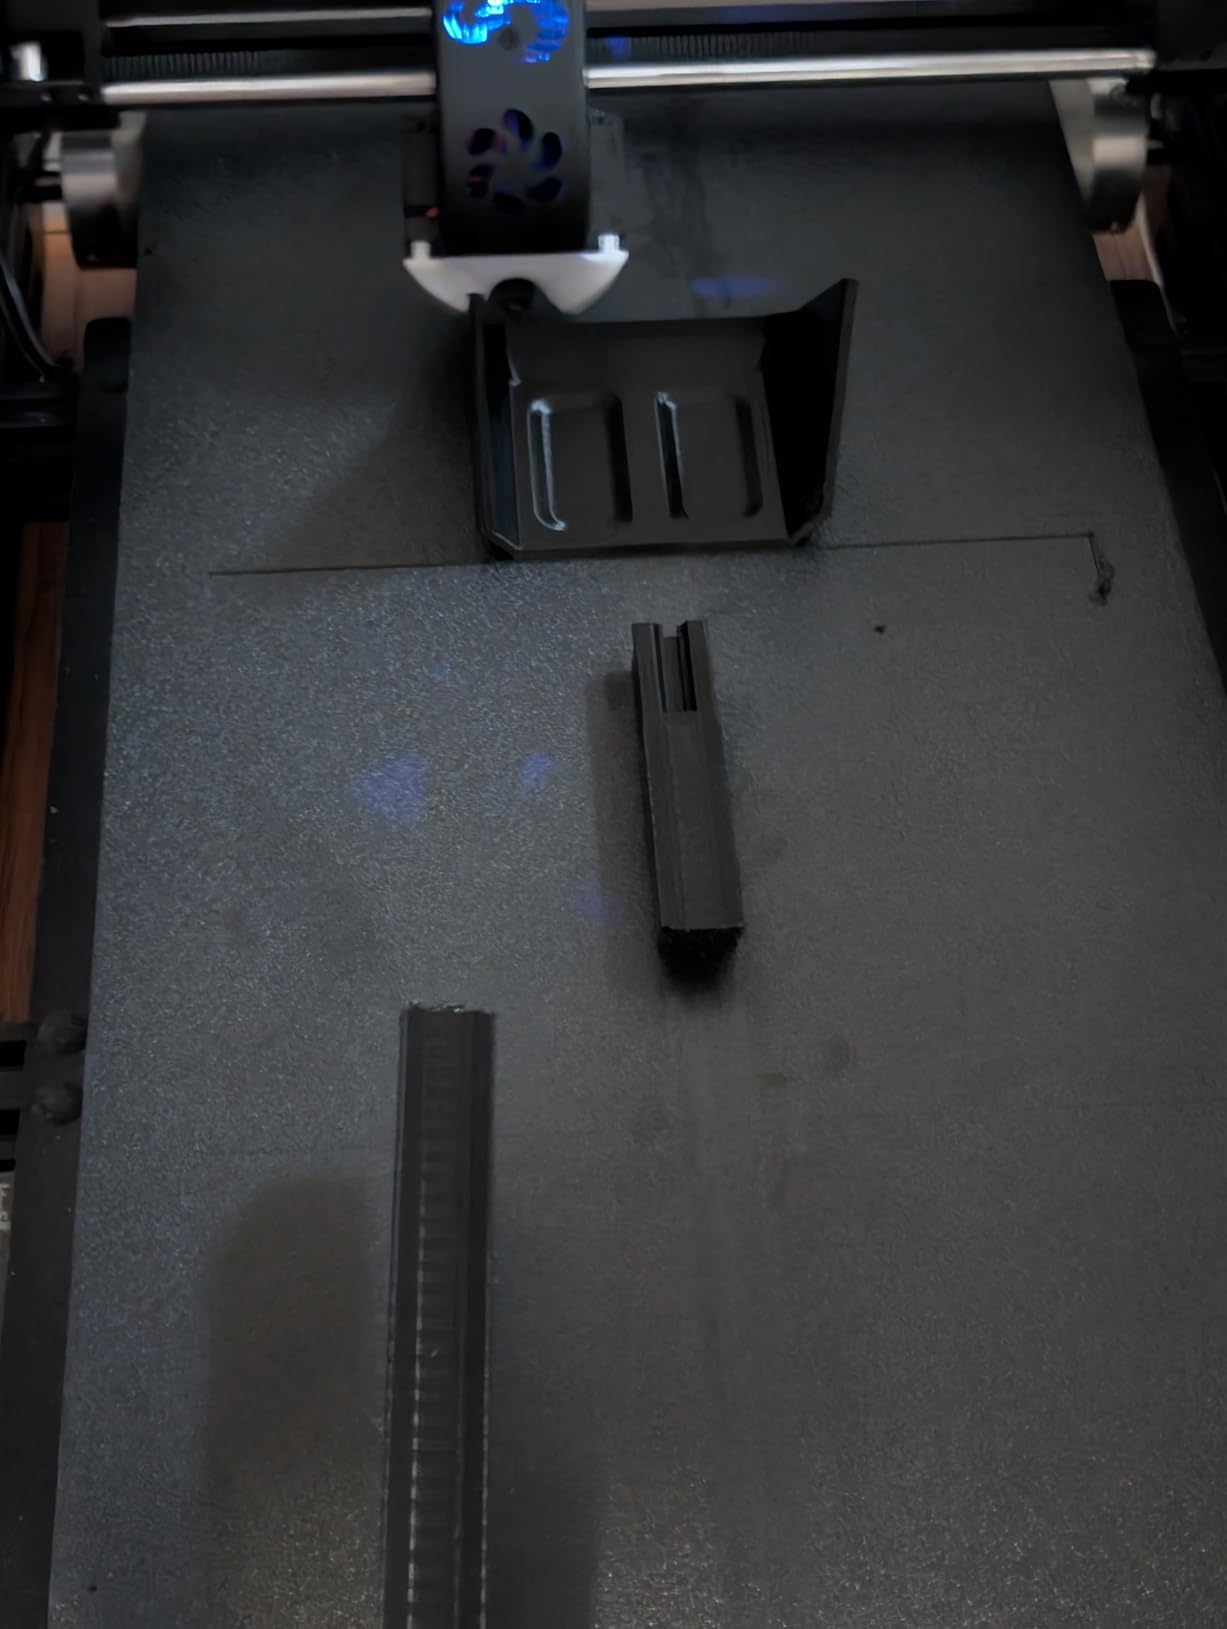
This machine solves a problem nothing else here can. The Z axis is continuous, so a 1.2 meter sword blade, a spear shaft or a wing section prints in one unbroken piece with no seam where a segment would have joined. For long weapons specifically, that is the whole point.
The metal conveyor belt with PEI coating also gives unusually strong layer adhesion, which is what lets a print run unattended through a long production batch without the part shifting off the bed at hour six. One-click auto leveling with a Y-offset strain sensor removes the paper-test ritual.
Klipper firmware is a genuine plus for the kind of builder who wants to tune. You get a standard Fluidd web interface and a huge community of shared configuration knowledge, rather than a closed system that decides what you can change. Materials cover PLA, PETG, ABS, TPU, ASA and PP.
The 45-degree inclined build system is also a feature for specific geometry. Correctly oriented, parts can be hollowed without support structures, which removes an enormous amount of post-processing on a hollow blade or a large shell.
Who the IR3 V2 suits
It suits builders making long prop weapons, oversized staff-like props, environmental pieces and signage-style elements. If your model is longer than it is tall, this is the correct machine and no other on the list competes.
It also suits experienced FDM users who want open firmware control and do not mind maintaining hardware. Unlimited production cycles are realistic on this machine.
Who should skip the IR3 V2
Skip it as a first printer. Every owner warns that the 45-degree geometry and belt wear make it a poor general-purpose machine, and it is not the right place to learn FDM.
Skip it for helmets or masks. A 250 x 250mm footprint is small for that job, and models downloaded for standard printers fail on the inclined geometry. The belt is also a consumable that can crack at the weld seam, and there is no multi-material unit, so multicolor means manual changes.
8. ELEGOO Jupiter 2 – Best for 16K Resin Detail
- 16K resolution is the highest here for crisp panel line detail
- Build volume is roughly 2.5x the Saturn 4 and suits large props
- 30°C heated tank reduces viscosity failures on big volumes
- Auto resin feeding prevents mid-print starvation
- Cluster Wi-Fi management for running several machines
- Lowest rated machine here at 3.6 stars with 27% one-star feedback
- Multiple reports of LCD screen failures and ribbon cable quality issues
- Auto-leveling sometimes reports success while adhesion still fails
- Resin level sensor and auto-fill pump reported as unreliable
- Slicer software and instructions described as underdeveloped
On paper this has the sharpest resolution in the group. A 16K mono panel at 20 x 26 μm pixel size is what you want when you are printing panel lines, vents, greebles or a visor frame that has to read as a hard surface rather than a rounded blob. The build volume is also larger than most desktop resin machines, at roughly 2.5 times the Saturn 4.
The smart 30°C tank preheat is a sensible design choice for big volumes, because cold resin in a large vat changes viscosity across the build and causes failures that do not happen on a small machine. Automatic resin feeding and a mechanical sensor that alarms on shortage and residue are meant to keep long prints running unattended.
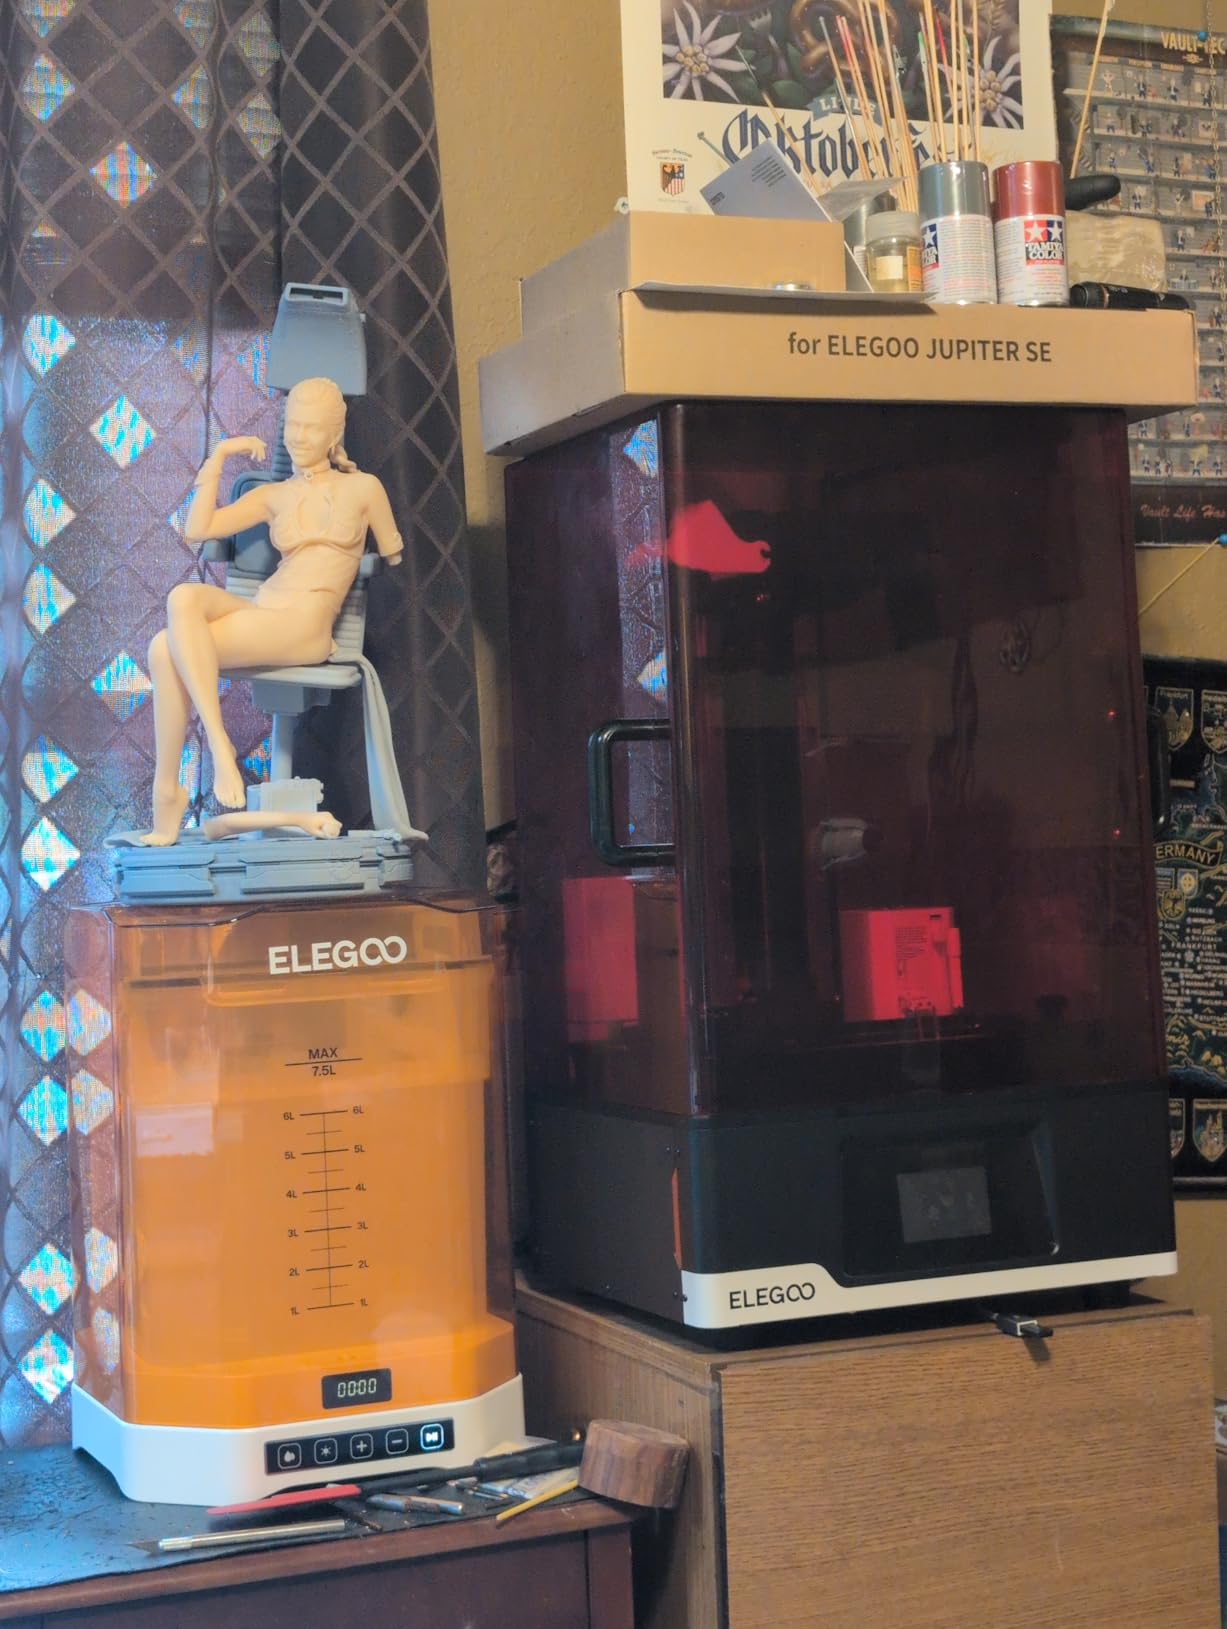
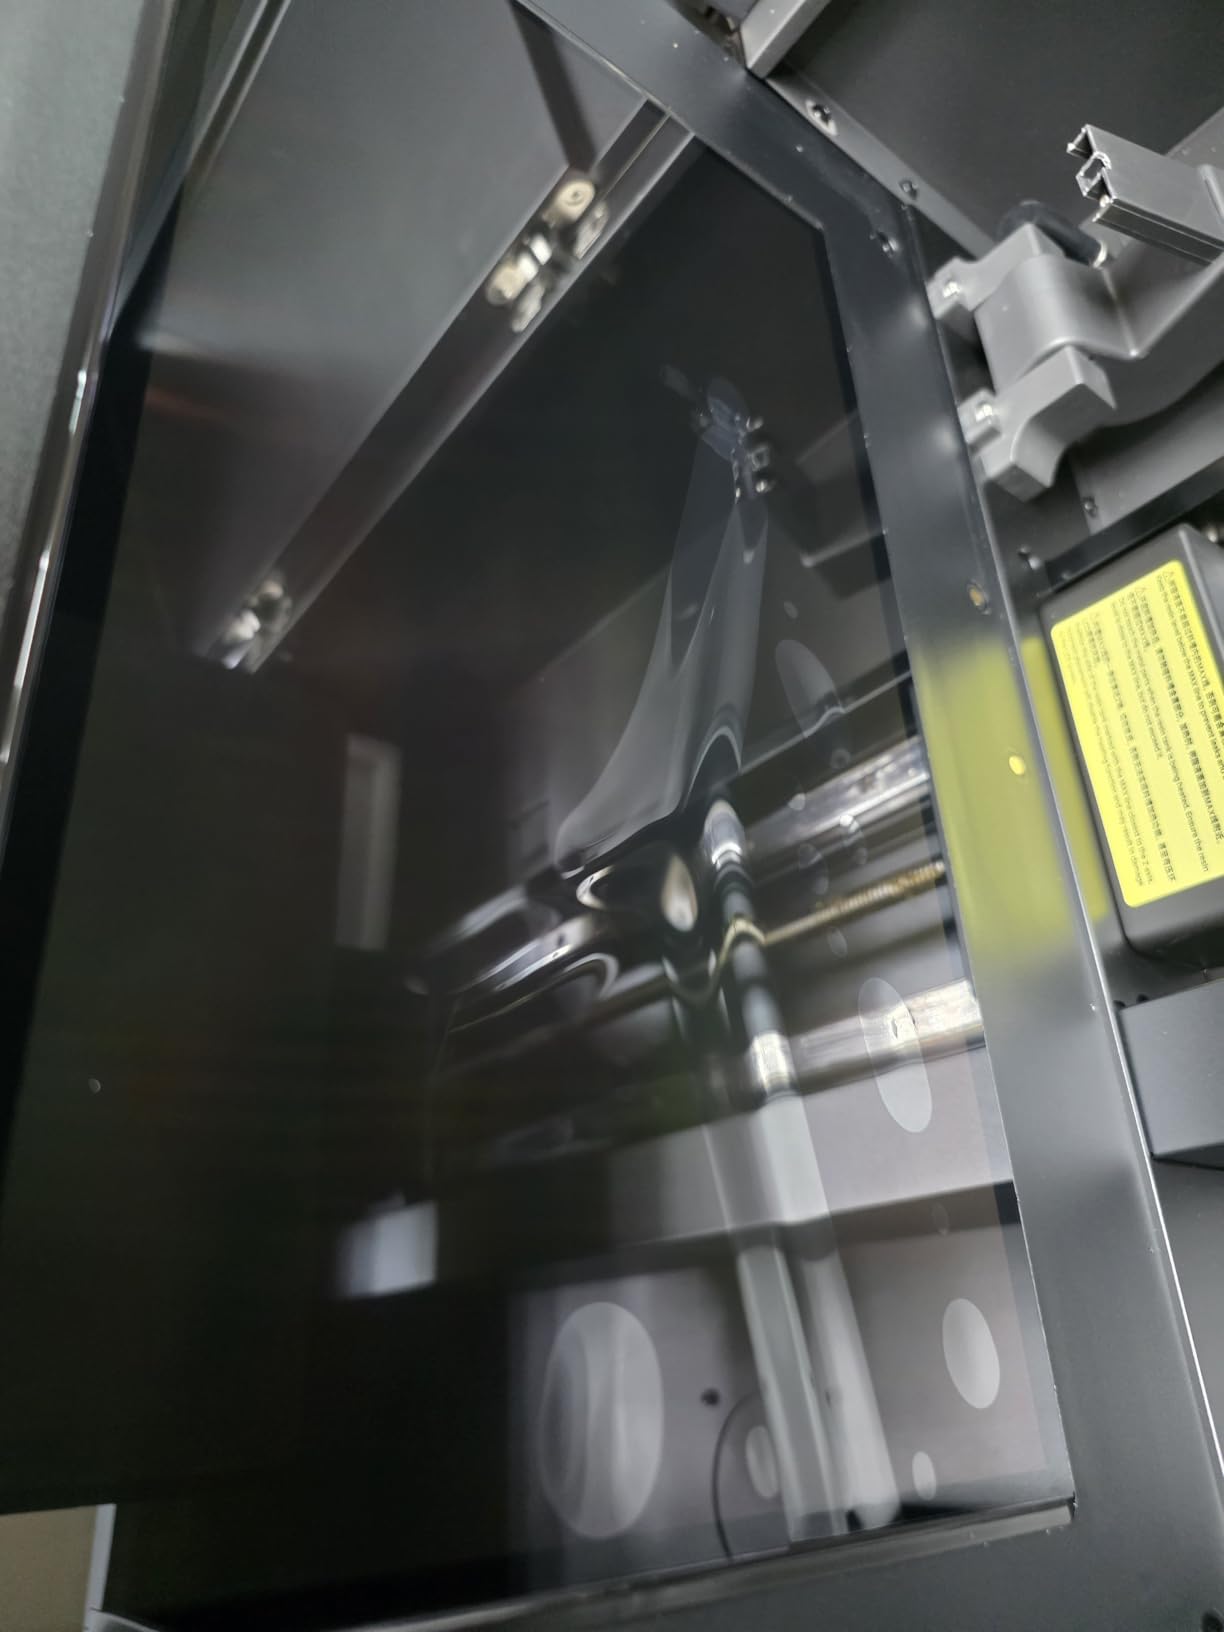
Here is the honest part. This is the lowest-rated machine in the roundup, and the complaints are specific rather than vague. Multiple buyers report LCD screen failures, and others describe auto-leveling reporting success while adhesion still fails, particularly on one side of the plate. The resin level sensor and auto-fill pump are also reported as unreliable, which wastes material on long jobs.
Software and documentation are described as underdeveloped, and the entire build plate has to be unscrewed to access it rather than hinged. Consumables such as screens and release film add real long-term cost. If you buy this, buy it with the expectation of a setup and calibration period.
Who the ELEGOO Jupiter 2 suits
It suits builders who want maximum resolution on small-to-medium detail props and are comfortable calibrating a resin machine themselves. Users who have dialed it in report strong results on full-body cosplay pieces.
Cluster Wi-Fi management is useful if you run more than one resin machine, and the 16K panel genuinely rewards complex surface work.
Who should skip the ELEGOO Jupiter 2
Skip it if reliability under long unattended prints is your priority. A 3.6 average with a large share of one-star feedback concentrated on screens and leveling is a different risk profile from the rest of this list.
Skip it if you want a first resin machine with a mature support ecosystem. Compare it with a smaller, better-reviewed resin option in our roundup of the best resin 3D printers for miniature makers before you commit to a large-format resin workflow.
Filament Guide: PLA+, PETG, ABS/ASA and Resin for Cosplay Armor
Printer choice matters less than material choice for most cosplay builds. Community consensus is consistent on this: PLA+, PLA Meta or PETG for anything you will wear, and never standard PLA for worn armor because it is too brittle when it flexes.
The reasoning is physical. Armor takes impact, and standard PLA cracks along layer lines under a knock. PLA+ and PETG have enough toughness to survive being shouldered through a crowded convention hall. For heat-exposed pieces or anything near a vehicle, ABS and ASA are the upgrade.
The single most useful piece of advice from experienced cosplayers is that internal structure beats material choice. A hollow shell with honeycomb or grid infill inside will out-perform a solid tube in the same plastic, at a fraction of the weight. That is how you get wearable armor that survives the day.
Weight is worth thinking about honestly. For torsos, skirts, necks, legs and upper arms, EVA foam at around 6mm is widely considered the better choice, and most builders use a hybrid: foam for the large body pieces, printed PLA+ or PETG for hands, helmet, visor and weapon. Our large 3D printer roundup for hobbyists covers the general hardware side if you want more background.
Do the arithmetic before you start. A helmet at 0.2mm layers is 1,500 layers tall, and the filament bill scales with volume, not with time. Infill is the lever that actually moves it, so model shells as shells rather than printing solid blocks and hoping for the best.
Enclosures, Bed Adhesion and the 8-Hour Failure Problem
The most common cosplay print failure is not a clogged nozzle or a bad slice. It is bed adhesion, and it kills prints at hour eight or ten when the corners of a large part lift. On a 400mm plate the thermal expansion across the heated bed is enough to peel a corner off on its own.
An enclosed chamber fixes the biggest part of that problem by reducing the temperature differential between the plastic and the air around it. A maintained 60°C chamber or 65°C chamber keeps ABS and ASA flat in a way an open frame never will. If you buy an open machine and plan to print engineering filaments, budget for an enclosure and consider a glue stick or a PEI sheet as the first accessory.
The second lever is slicing. A brim costs almost nothing in material and dramatically reduces the chance of a corner lift on a large flat part. Ten percent infill with a good wall count is plenty for cosplay shells, and dropping layer height is rarely worth the time on a piece you are going to sand and prime anyway.
Third, plan for unattended printing. All of the machines on this list have filament runout detection, power-loss recovery or camera monitoring, and those features are worth far more to a cosplayer than a few extra mm/s. A print that restarts itself after a jam at 2am saves the weekend that a fast printer cannot.
Which Printer Fits Your Build: A Persona Shortcut
If you are new and building one helmet, start smaller. A 300mm cube enclosed machine like the K2 Pro Combo teaches you the workflow without a large footprint, and you can move up once you know what your failure modes are.
If you are building a full suit with mixed parts, the Creality K2 Plus Combo handles the widest range in one machine: one-piece helmets, chestplates, and multi-color accents without a separate finishing marathon.
If you care most about how the piece looks under lights, the ANYCUBIC Photon Mono M7 Max is the answer for anything you wear on your face, and resin is the only realistic route to that finish.
If you print for commissions or run a workshop, the Ender 5 Max with WLAN grouping or the QIDI Max4 Combo both scale into a small print farm, and both keep filament costs per piece down where a single slow machine does not.
If your prop is longer than it is tall, the IdeaFormer IR3 V2 is the only sensible answer on this list, and if your prop is bigger than any desktop machine can hold, the Sovol SV08 MAX 500mm cube is the ceiling for home use.
Frequently Asked Questions
What is the best 3D printer for making cosplay props?
For most cosplayers the ANYCUBIC Photon Mono M7 Max is the best choice for anything worn on the face, because resin at 7K resolution needs far less sanding and filler than FDM. For full suits and mixed parts, the Creality K2 Plus Combo covers the most ground with a 350mm cube volume, an actively heated 60°C chamber and up to 16 colors from four CFS units.
How big of a 3D printer do I need for cosplay?
You need at least a 300 x 300 x 300 mm build volume for a one-piece full-size helmet. A chestplate or backplate needs about 400 x 400 mm of flat footprint but very little height, usually 15 to 25mm. Anything over 400mm in a single dimension, such as an oversized droid torso, needs a 500mm cube class machine or a belt printer.
Which 3D printer is best for large object printing?
For volume, the Creality Ender 5 Max gives a full 400 x 400 x 400 mm cube from a die-cast aluminum frame, and the Sovol SV08 MAX goes to 500 x 500 x 500 mm for pieces that exceed that. For long thin objects such as sword blades, the IdeaFormer IR3 V2 has a continuous Z axis and no height limit at all.
Can I print a full cosplay helmet in one piece?
Yes, if your printer has roughly 300mm of build height and 300mm of width. Most full-size helmets slice within a 300 x 300 x 300 mm envelope, though you should rotate the model to use the bed efficiently and leave 5 to 10mm of clearance on each axis so the corners stay stuck to the plate.
What filament is best for 3D printed cosplay armor?
PLA+, PLA Meta or PETG for anything wearable, because standard PLA is too brittle under impact. Use ABS or ASA on an enclosed printer with a heated chamber for heat-exposed pieces. For internal strength, a hollow shell with honeycomb or grid infill performs better than a solid print in the same material.
Do I need an enclosed printer for ABS armor?
Yes, strongly recommended. ABS and ASA printed on an open frame curl at the corners because the temperature swing across a large plate pulls the edges loose. A chamber maintained at 60°C or 65°C removes most of that failure mode. If you buy an open-frame machine, add an enclosure and treat a brim as mandatory.
Final Verdict: The Best Large 3D Printers for Cosplay Props in 2026
For the best large 3D printers for cosplay props in 2026, start with the ANYCUBIC Photon Mono M7 Max if the piece goes on your face, and the Creality K2 Plus Combo if you are building a whole suit with colored accents. Add the Sovol SV08 MAX only when your prop genuinely exceeds 400mm, and the IdeaFormer IR3 V2 only when your prop is longer than it is tall.
Whichever you pick, decide your filament before you buy the machine, model your parts as hollow shells with sensible infill, and buy an enclosure if the printer does not ship with one. Those three choices prevent more ruined convention weekends than any speed rating ever will.