
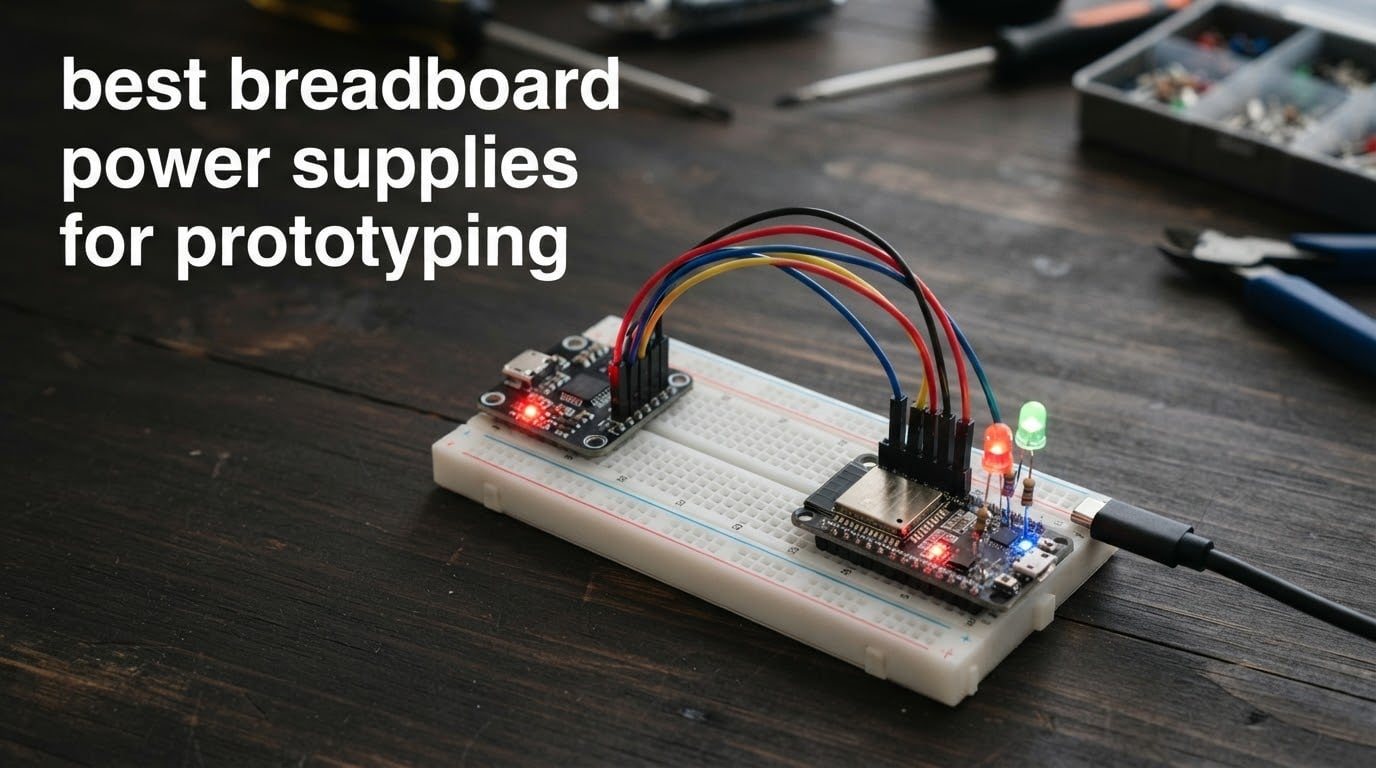
Most people buying the best breadboard power supplies for prototyping are solving a problem they do not name out loud: the board stopped working. An Arduino Uno will hand you roughly 400mA from its USB port, which is comfortable for a blinking LED and a temperature sensor, and nowhere near enough the moment you add a Wi-Fi module, a stepper driver or a strip of LEDs. The power rails on a solderless breadboard are wiring, not a power source, and something has to feed them.
A breadboard power supply module is that something. It takes a barrel jack, a USB charger or a battery and puts a regulated 3.3V or 5V straight onto the red and blue rails, so you are not tied to whatever your development board happens to output. The modules in this roundup all seat onto a standard MB-102 style breadboard, cover a range of loads, and differ mostly in input flexibility, current ceiling and whether they will protect you when a wire goes in backwards.
We compared ten of them across the full spread of available options, from three-pack budget modules to a multi-rail LM2596 board and a solder-it-yourself kit. Last updated: October 2026. If you want the wider picture on bench instrumentation first, our guide to the best bench power supplies for electronics technicians covers the other end of this market.
Table of Contents
What Can You Use to Power a Breadboard?
You can power a breadboard from USB 5V, from a barrel-jack DC-DC module, from a battery, or from a benchtop supply. A USB 5V source is the simplest and needs no extra hardware. A barrel-jack module gives you selectable 3.3V and 5V rails on the board itself. A battery makes the project portable. A benchtop supply adds a readout and a current limit, which is what you want once you are debugging.
- USB 5V. A phone charger, laptop port or power bank feeding a module with a USB input. Zero wiring, and the ceiling is whatever your charger can supply, usually fine for logic and sensors.
- Barrel-jack DC-DC module. Takes a 6.5-12V wall supply and steps it down to fixed 3.3V and 5V rails. This is the most common breadboard power supply module and the cheapest per unit.
- Battery. A 9V snap connector or a LiPo feeding the module input. Works anywhere, but output sags as the battery drains, so measure before you trust a reading.
- Benchtop supply. A variable unit you set and read on a display, with a real current limit. It costs far more and it is the only option here that tells you instantly when your circuit is drawing too much.
Two rail voltages cover the vast majority of prototypes. 5V is what an Arduino Uno, a Raspberry Pi Pico or any 5V sensor wants. 3.3V is what an ESP32, an ESP8266 or a 3.3V logic sensor wants, and feeding 5V into a 3.3V pin is a common way to end a project. Modules that let you set each rail independently save you from rewiring every time you change boards.
Top 3 Picks for Breadboard Power Supplies in 2026

SunFounder BreadVolt
- 5V/1.5A and 3.3V/1A outputs
- Two independent channels plus USB output
- USB powered with on/off switch
- 52 x 32 x 24 mm

HiLetgo 5-Pack 3.3V/5V Module
- 3.3V and 5V outputs
- Under 700mA maximum output
- 6.5-9V DC or USB input
- Onboard power switch

ALAMSCN MB102 Module 3-Pack
- Dual 3.3V and 5V rails
- 700mA maximum output
- 6.5-12V barrel input
- 9V battery snap included
Best Breadboard Power Supplies at a Glance in 2026
All ten modules below seat onto a solderless breadboard’s power rails. The columns that separate them are input source, current ceiling and whether protection is built in. Current figures are the manufacturers’ maximum output ratings, not a measured continuous load.
| Product | Specifications | Action |
|---|---|---|
| SunFounder BreadVolt |
|
Check Latest Price |
| HiLetgo 3.3V 5V Module 5-Pack |
|
Check Latest Price |
| ALAMSCN MB102 Module 3-Pack |
|
Check Latest Price |
 Minidodoca All-in-One Power Kit Minidodoca All-in-One Power Kit |
|
Check Latest Price |
 Lonely Binary USB-C 3-Pack Lonely Binary USB-C 3-Pack |
|
Check Latest Price |
 WWZMDiB 3.3V 5V Module 5-Pack WWZMDiB 3.3V 5V Module 5-Pack |
|
Check Latest Price |
 Oiyagai MB102 Module 5-Pack Oiyagai MB102 Module 5-Pack |
|
Check Latest Price |
 GODIYMODULES LM2596 Multi-Channel GODIYMODULES LM2596 Multi-Channel |
|
Check Latest Price |
 PEMENOL LM2596 Solder Kit PEMENOL LM2596 Solder Kit |
|
Check Latest Price |
 EIKS 3.3V/5V Module 3-Pack EIKS 3.3V/5V Module 3-Pack |
|
Check Latest Price |
1. SunFounder BreadVolt – Best Breadboard Power Supply for Most Prototypes
- Higher 1.5A rating on the 5V channel than most modules in this group
- Two independent output channels plus a USB output
- Built-in on/off switch
- Compact 52 x 32 x 24 mm footprint
- Works from USB so no wall outlet is needed
- Breadboard is not included
- Only two extra output pins per rail for off-board distribution
- USB input means you need a USB source to hand
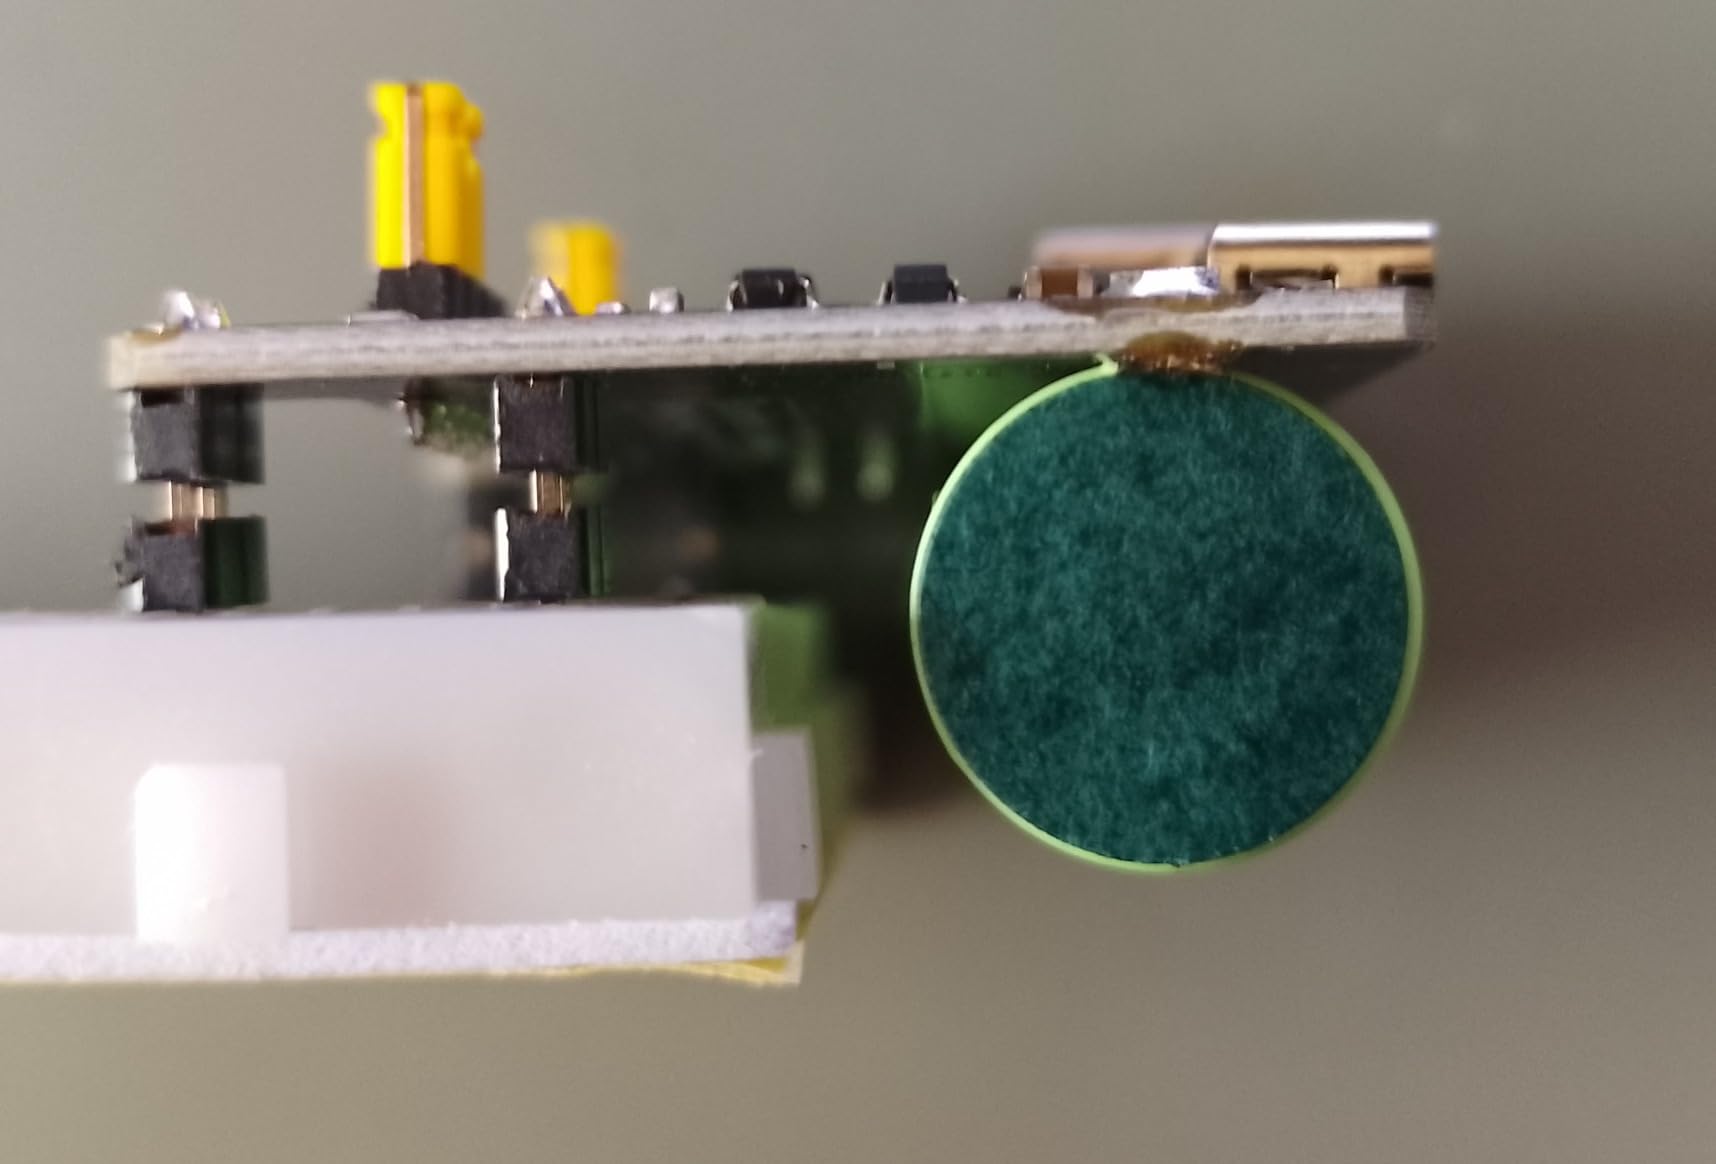
The SunFounder BreadVolt is the module we kept coming back to while working through this list. It runs from a plain USB source, gives you 5V at up to 1.5A and 3.3V at up to 1A on two independent channels, and measures 52 x 32 x 24 mm, so it leaves most of the board free. There is a 1-year guarantee on it, which is more than most of what is in this category offers.
The on/off switch is the detail that earns its keep. Working makers on electronics.stackexchange and the Arduino forums repeatedly describe killing power at the wall or unplugging USB as a routine safety step, and having a latching switch right there means you do not have to reach behind the bench. The jumper caps let you pick 5V or 3.3V per channel without a screwdriver.
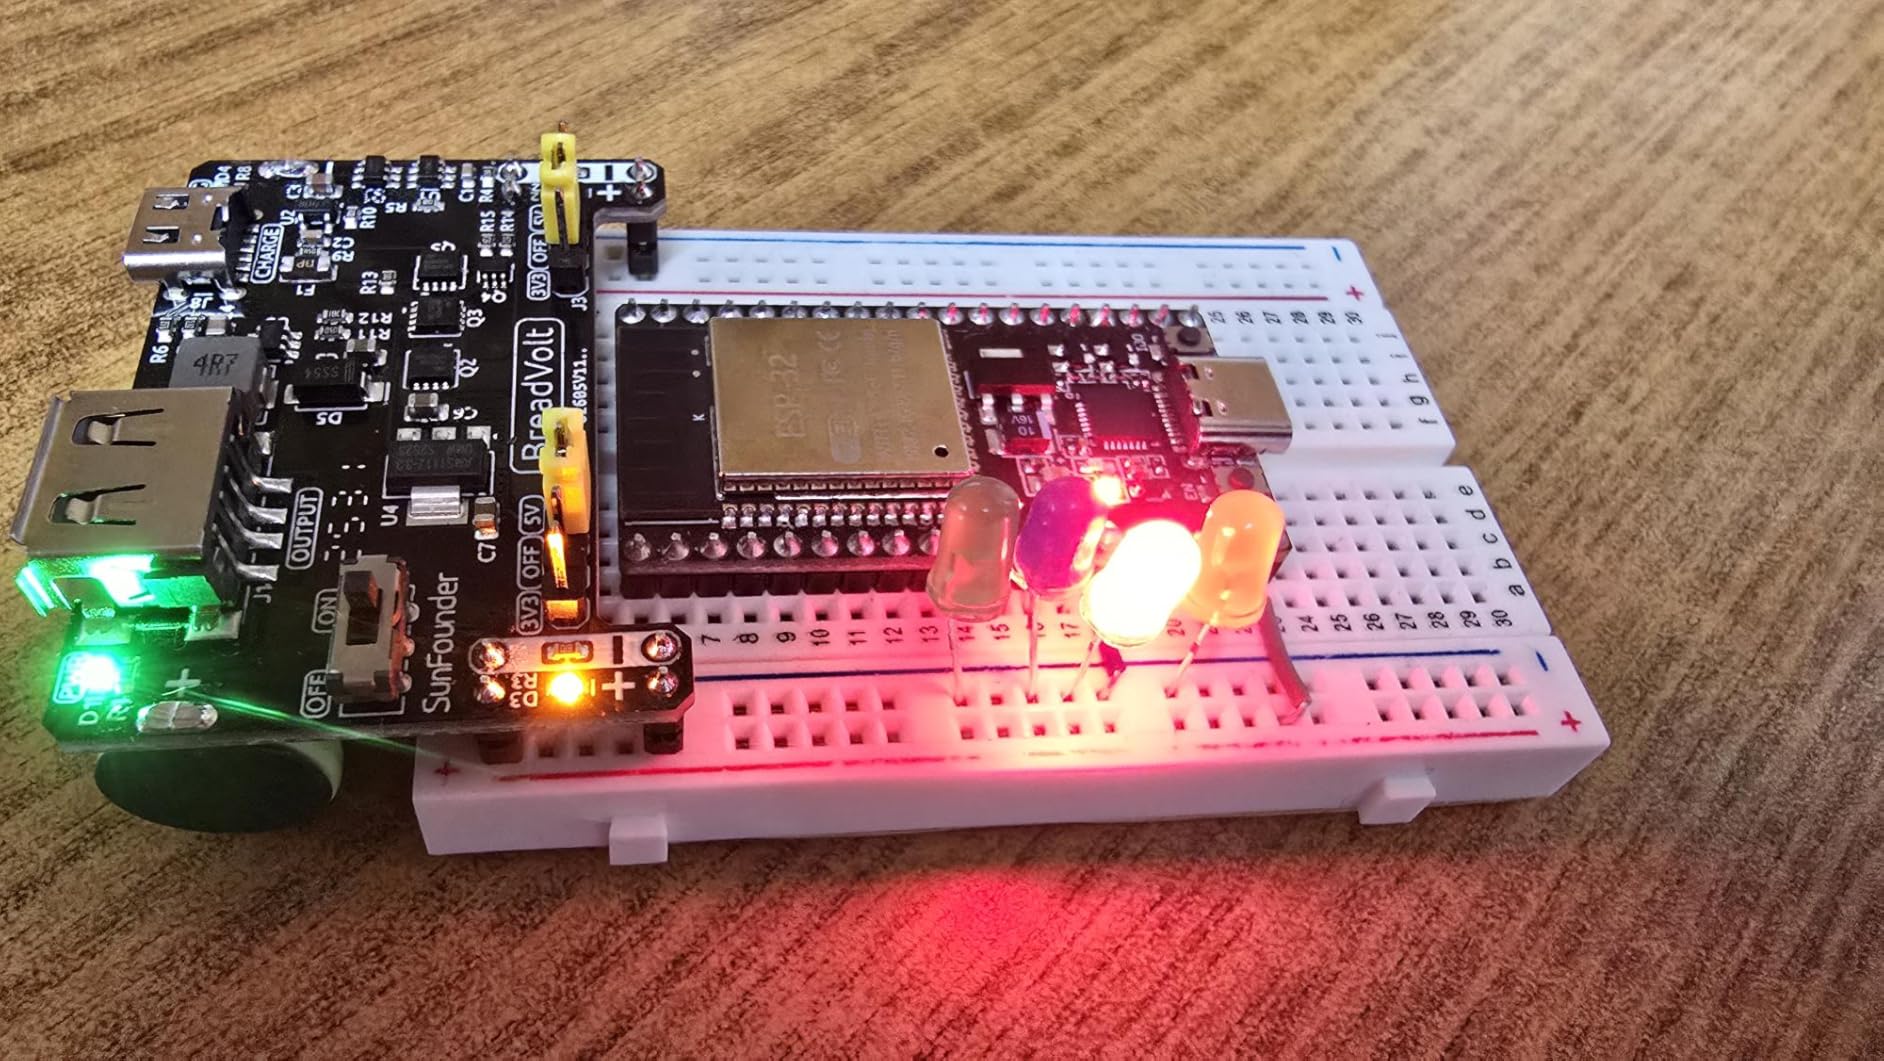
Owners rate it 4.5 out of 5 across 253 reviews, with 72% of those at five stars. That review volume puts it in the middle of the upper half of this group, and the complaints are narrow: the breadboard itself is not in the box, and there are only two spare output pins per rail if you want to take power off-board to a sensor enclosure.
Compatibility is broad by design. The listed devices are Arduino, Raspberry Pi, Pico W and ESP32, and owners use it for IoT and robotics builds where the board may not be near a mains socket. If your load is an ESP32 with the Wi-Fi radio running, the 3.3V channel at 1A is the number that matters, and it is enough.
What current headroom you actually get
The 1.5A 5V figure is the module’s rating, not a promise of sustained 1.5A. For a microcontroller, a handful of sensors and a few LEDs you will use a fraction of it, which leaves comfortable room for Wi-Fi current spikes. Anything with a motor or a servo on it belongs on a separate rail, and reviewers of lower-rated modules in this list report brownouts for exactly that reason.
When to pick something else
Choose a barrel-jack module instead if your only available power is a 9V wall supply, since this one is USB-input only. Choose a wired board if you need a 12V rail or a continuously adjustable output. The 1.5A channel is also a rating, not a guarantee, so measure under load if your circuit matters.
2. HiLetgo 3.3V/5V Module 5-Pack – Best Value Breadboard Power Supply
- Most reviews of any module in this roundup at 538
- Reviewers measuring with a multimeter report 4.92V-5.04V and 3.27V-3.32V
- Fits MB102 style boards firmly with a small footprint
- Onboard power switch for cutoff at the board
- Usable extra 3.3V and 5V output pins off the breadboard
- Needs roughly 7.5V input to reach a full 5V rail
- Quality control varies
- with some header pins arriving bent
- No reverse-polarity protection reported
- No instructions included
The HiLetgo 5-pack is the most proven module here by volume of buyer feedback. 538 reviews at 4.3 stars is the largest review base in this roundup, and the reason matters: it is the module that has been bought, measured and argued about most often, so the failure patterns are well known rather than theoretical.
It is also a plain design. Input is 6.5-9V DC or USB, output is fixed 3.3V and 5V, and the maximum output current is under 700mA. Two onboard groups of 3.3V and 5V output pins let you tap power off the breadboard entirely, which is how most people feed a sensor module sitting next to the board.

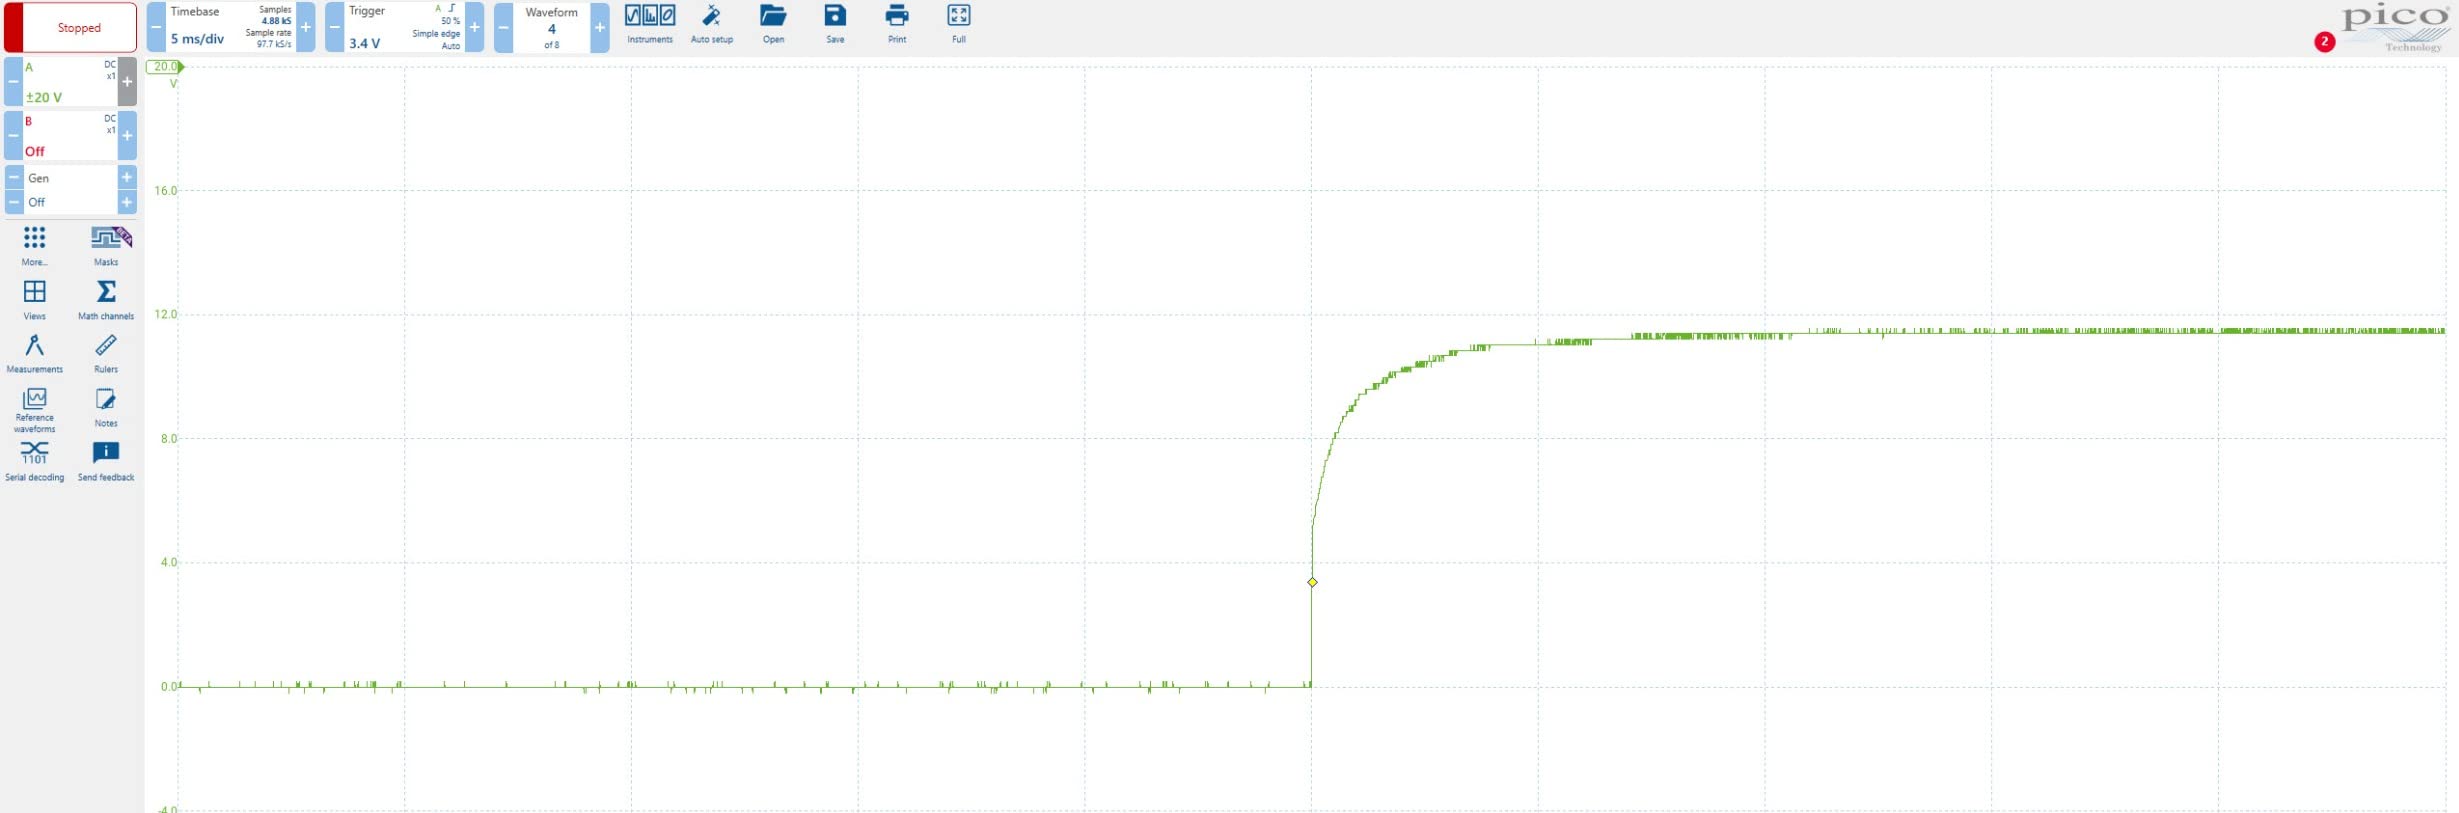
The measurement reports are the strongest part of the feedback. Across a five-pack under 12V DC input, buyers recorded 4.92V to 5.04V and 3.27V to 3.32V, which is tight regulation for a module at this level. That is the number that matters for analog sensor work, where rail noise shows up in the reading.
What the reviews also make clear is the headroom tax. Because the regulator itself drops voltage, a full 5V rail generally needs about 7.5V at the input. Feed it 6.5V and the 5V side sags. There is also visible unit-to-unit variation, with bent or crooked header pins appearing often enough that reviewers mention straightening them with pliers before first use.
How to get a clean 5V rail from it
Give it a 9V supply rather than the 6.5V floor and the 5V output lands where you expect. If you are feeding an ESP32 or an ESP8266, remember the radio draws in bursts, and 700mA is the ceiling rather than a comfortable working figure. A multimeter on the rails while your Wi-Fi code transmits is a two-minute test worth doing.
When to pick something else
Skip it if you cannot accept the possibility of a bent header pin on arrival, or if reverse-polarity protection is a requirement. There is no protection, and one review reported a module failing after being mispowered. For a 12V rail, a wide input range or a continuous adjustable output, this is the wrong module.
3. ALAMSCN MB102 Module 3-Pack – Top Rated for Battery and Barrel Work
- Either voltage can be assigned to either breadboard rail
- 9V battery snap cable included for use away from an outlet
- Green power LED and latching ON/OFF switch
- Plug-and-play headers that seat directly into a breadboard
- Fixed 6.5-12V input window
- 700mA output ceiling
- Only a 3-month warranty
The ALAMSCN 3-pack is the one to buy if your prototyping moves between the bench and somewhere without a wall outlet. A 9V battery snap cable with a T-type 5.5 x 2.1mm connector is in every pack, so the same module that runs from a barrel supply runs from a battery. That flexibility is the whole reason it earns its place here.
Output is a fixed, non-adjustable dual 3.3V and 5V, with 700mA maximum. Either voltage can be assigned to either side of the breadboard through the plug-in headers, which means you can run 3.3V on one rail and 5V on the other in the same circuit without adapters.
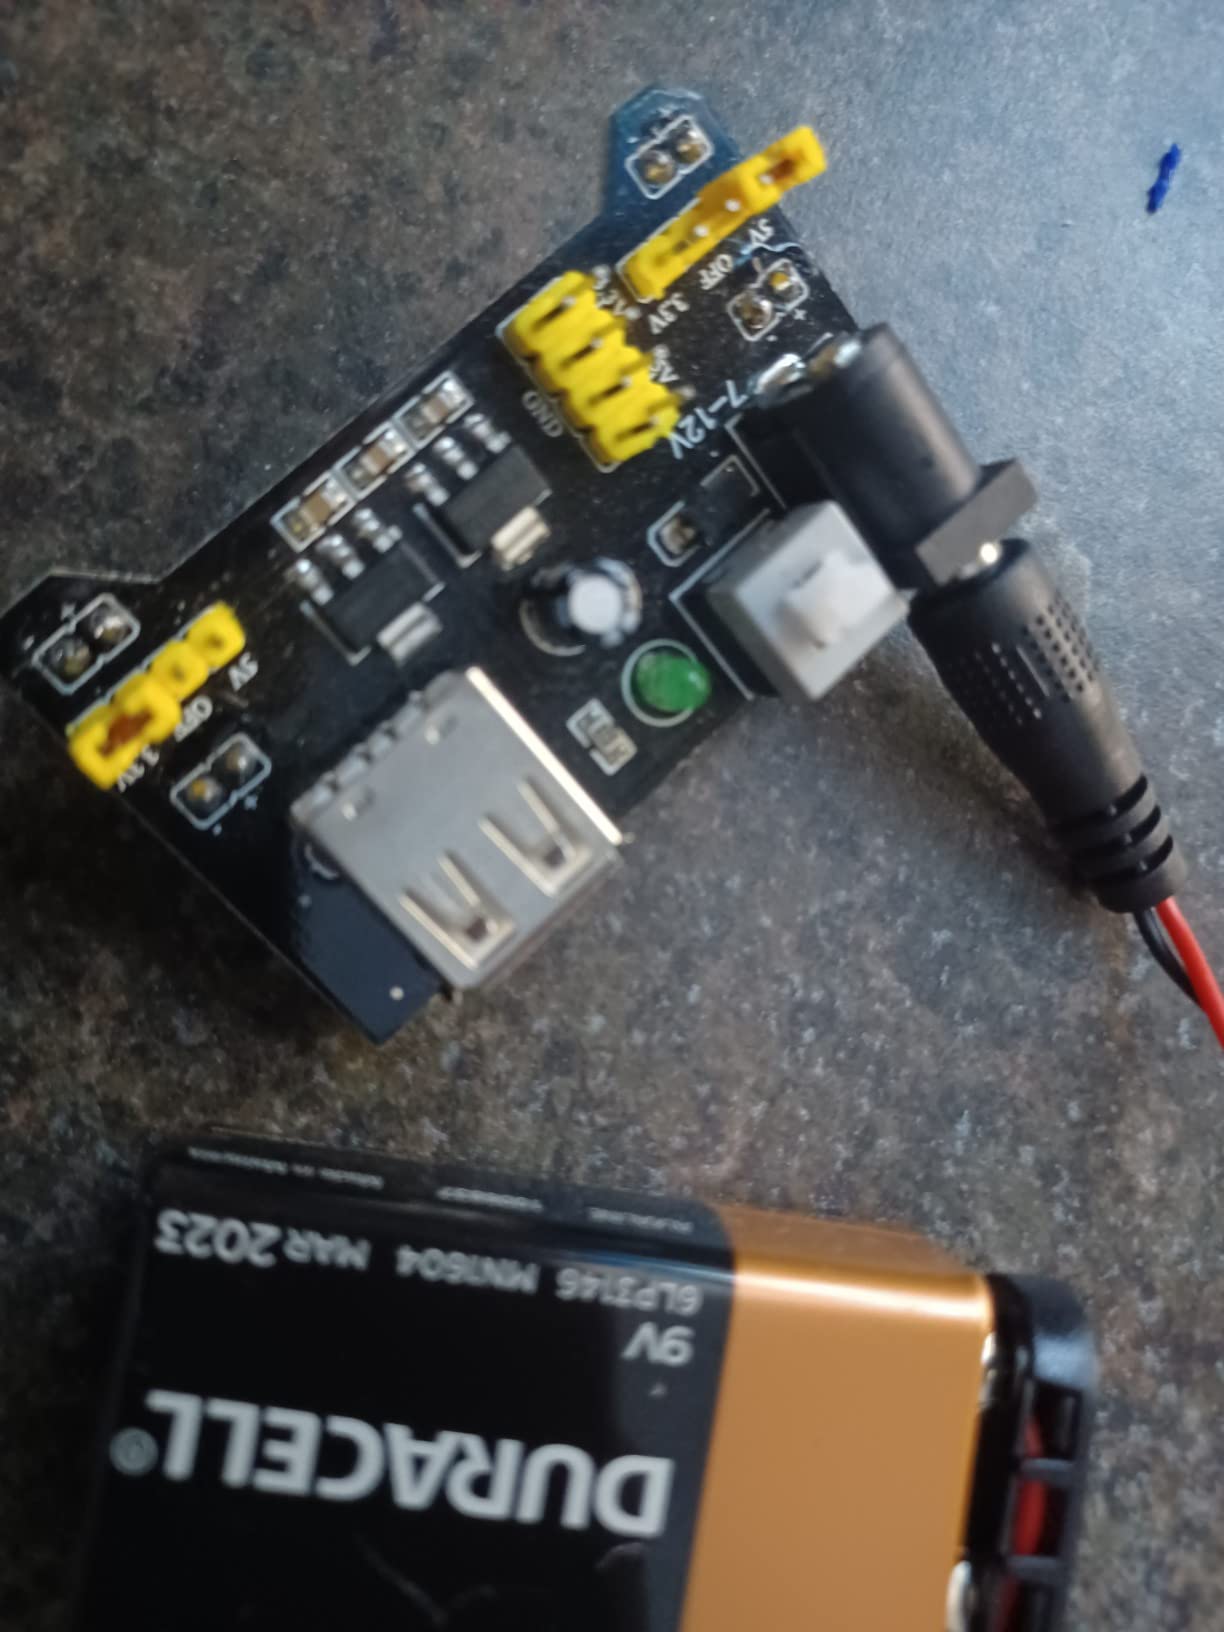
At 4.5 stars from 191 reviews, with 75% of those at five stars, it is one of the better-rated modules in the roundup. The green power indicator and the latching switch get specific mention, because on a battery-powered build you want to know at a glance whether the board is actually live.
Two limits are worth reading before you commit. The barrel socket has a fixed 6.5V to 12V acceptance window, so a supply outside that range is not supported and a higher-voltage adapter will not work. And the 700mA ceiling is the shared ceiling for this whole class of module, which is fine for logic and thin for motors.
Battery behaviour you should plan for
A 9V battery is a fresh alkaline at about 9V and much closer to 6V when it is nearly spent, so a battery-fed 5V rail drifts downward as the battery drains. Reviewers of modules in this class report microcontrollers shutting down as output falls. If your project has to finish its run reliably, budget for a fresh battery or move to a supply with a display.
When to pick something else
It is the wrong choice if you need a continuous adjustable output, a 12V rail, or a warranty longer than three months. It is also the wrong choice for anything drawing over 700mA, including a servo or a stepper driver, where you want a separate supply for the motor and the logic rail kept clean.
4. Minidodoca All-in-One Power Kit – Best Kit for a First Build
- Everything needed in one box: module
- 9V adaptor
- battery clip
- test leads
- banana plugs and DuPont cables
- Two independently controlled rails switchable across 0V / 3.3V / 5V
- Reported to work well for both 5V and 3.3V microcontroller and LED strip work
- Good perceived build quality
- Header pins on some pieces arrive crooked and need straightening
- The included 9V battery adapter delivers noticeably less than 5V on the 5V rail
- One review reported a power brick arriving crushed
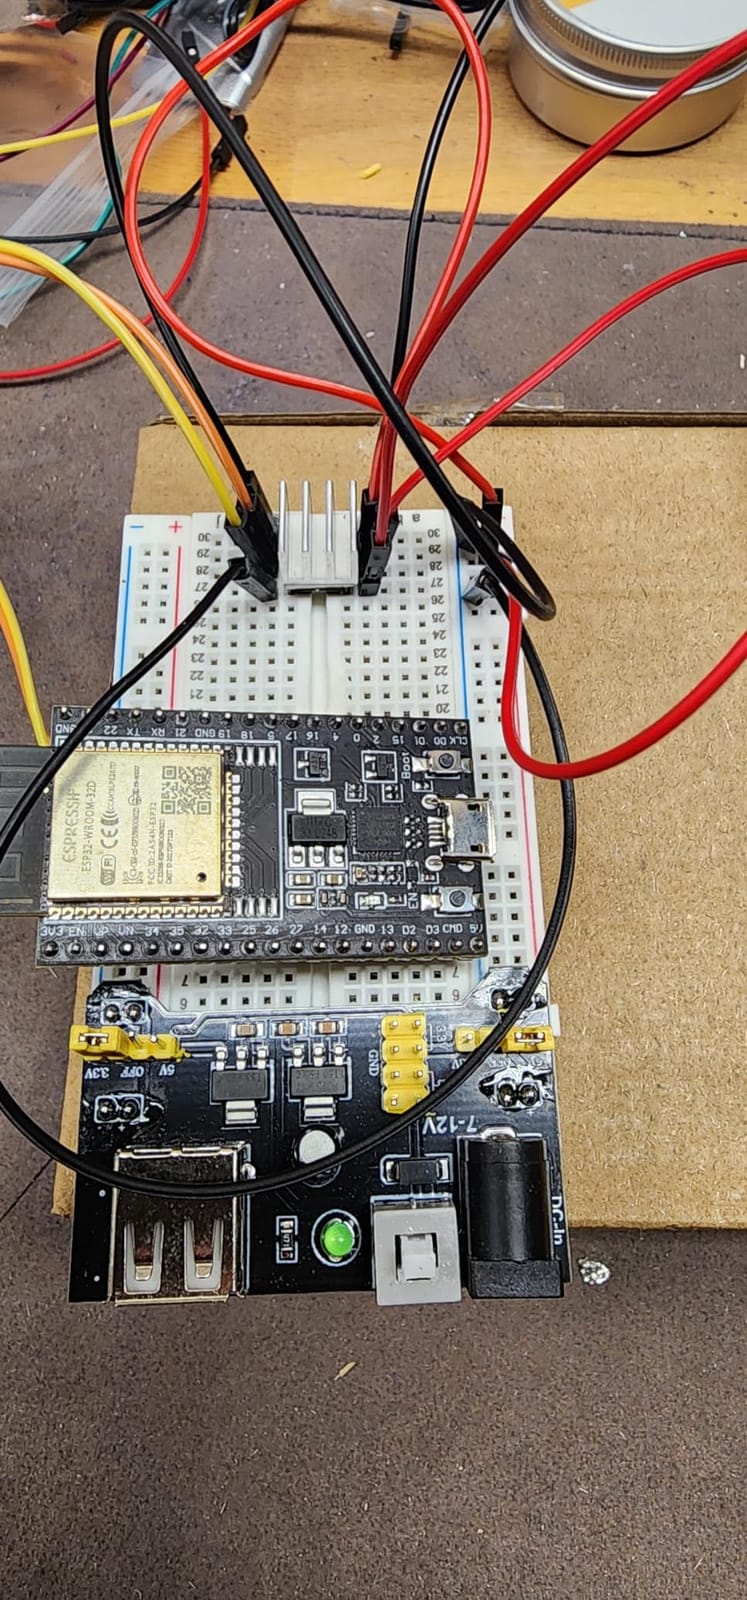
Most buyers opening one of these are building a first circuit and do not yet know whether they need a barrel jack, a battery snap or test leads. The Minidodoca kit answers that by including all of it: a 9V 1A adaptor, the breadboard power module, a 9V battery clip, 11.8-inch alligator clip jumper test leads, banana plugs, and five-pin male-to-male and male-to-female DuPont cables.
The module itself gives you two independently controlled rails, each switchable to 0V, 3.3V or 5V, with output of roughly 3.3V or 5V at up to 700mA. Input is 6.5-9V DC or a 9V battery, and it fits MB-102 solderless breadboards. The 0V position is a genuinely useful third setting because it lets you kill one rail without disturbing the other.
At 4.5 stars across 160 reviews, with 74% five-star, the kit is well received for exactly the reason it is sold. Buyers like not having to source a second box of jumper leads before they can power an LED. Users report it working well for both 5V and 3.3V prototyping with microcontrollers and LED strips.
The recurring complaints are assembly and one electrical shortfall. Crooked header pins on arrival come up often enough to mention, and they need straightening before the module will seat. More importantly, reviewers report that the included 9V battery adapter produces noticeably less than 5V on the 5V rail, and advise using a different supply if you need a solid 5V.
What the extra leads are good for
The alligator clip leads and banana plugs let you build banana-to-male or banana-to-female test leads of your own, which is the fastest way to connect a module that lives off the breadboard. The 0V rail setting is the sleeper feature here, and it saves rewiring when you want one side of the board unpowered while you probe the other.
When to pick something else
Do not rely on the bundled 9V battery adapter for a 5V circuit that has to be accurate, since the reviews on that point are consistent. If you need more than 700mA, a 12V rail, or USB input without a barrel jack, this is the wrong kit.
5. Lonely Binary USB-C 3-Pack – Best for USB-C and Built-In Protection
- USB-C input runs from a laptop
- power bank or USB hub with minimal wiring
- Slide switch for 3.3V or 5V plus red and blue LEDs showing the active rail
- PPTC resettable fuse adds real protection against overloads and shorts
- Reported stable and reliable 3.3V and 5V output once plugged in
- Pin spacing reported too wide for some breadboards
- including Elegoo models
- 500mA per module is below the 700mA typical of barrel versions
- Slide switch orientation takes a moment to work out
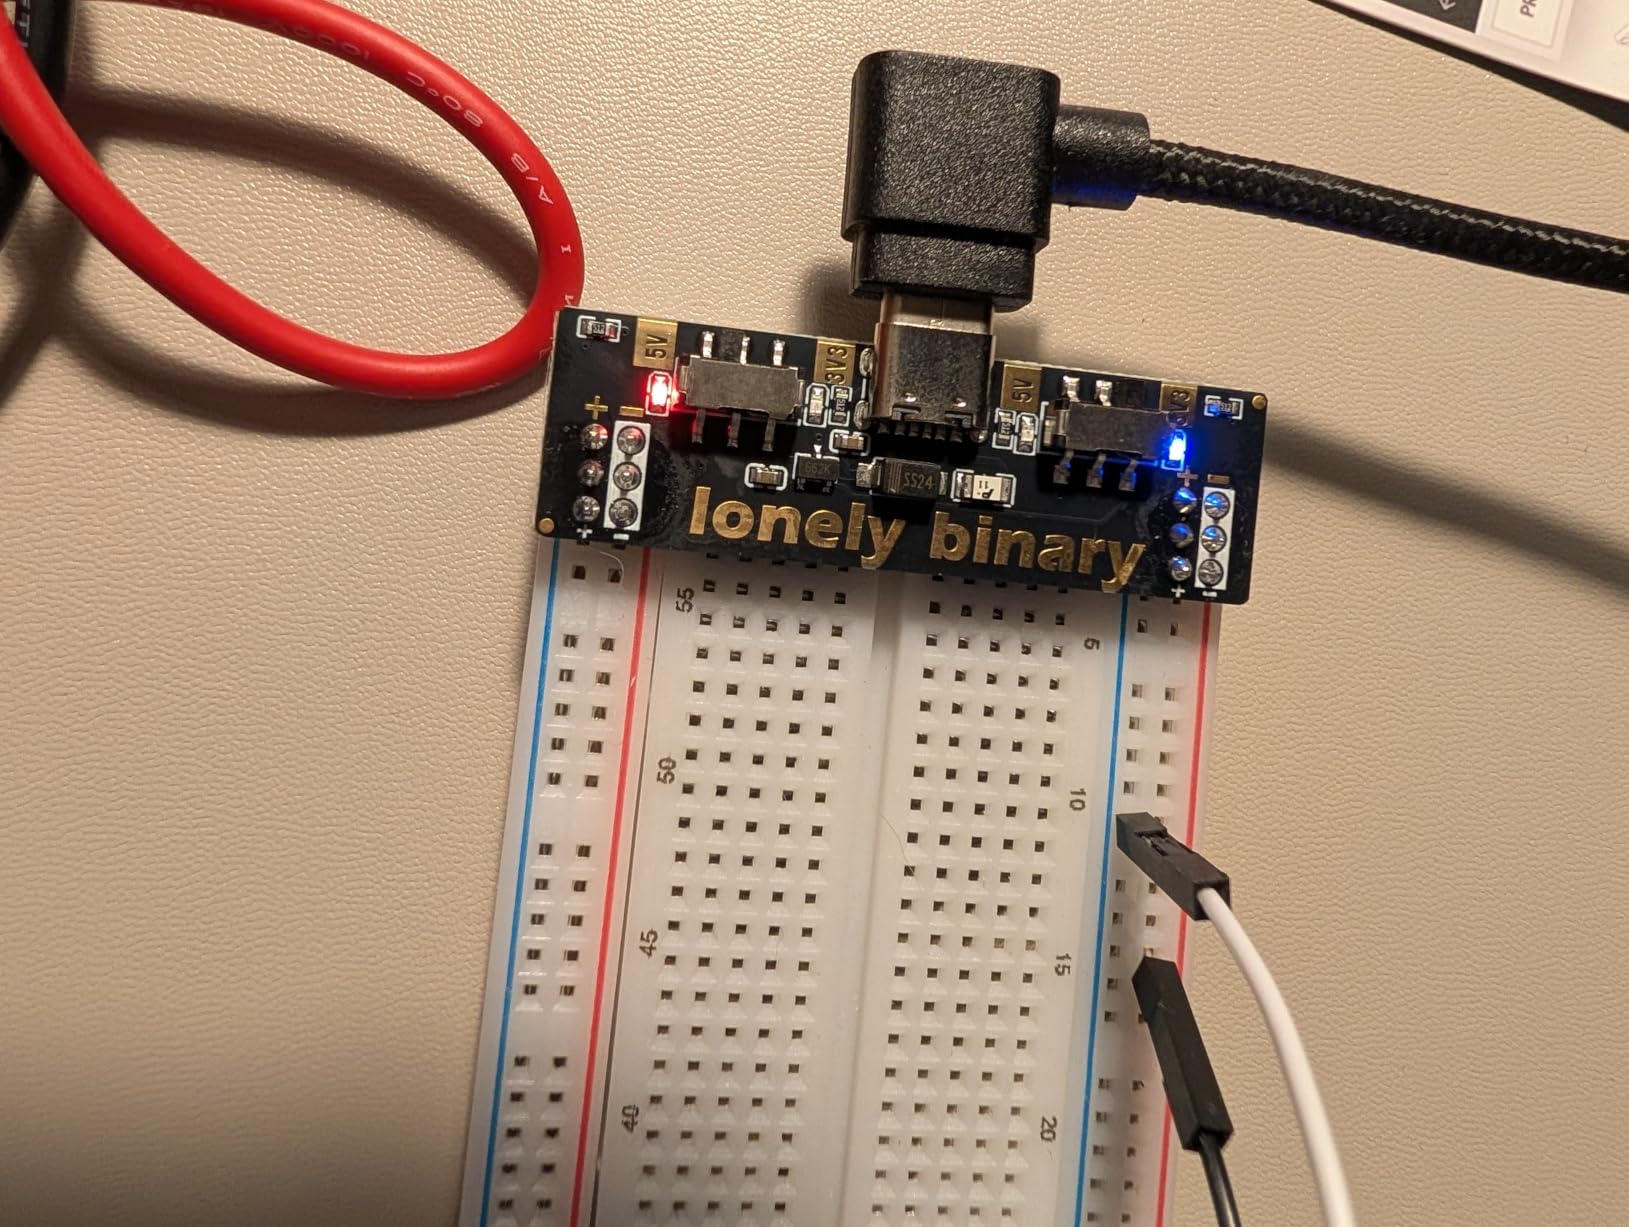
The Lonely Binary module is the only USB-C powered entry in this roundup, and that alone makes it distinct. It takes 5V from a laptop, a power bank or a USB hub, then switches between 3.3V and 5V on a slide switch. Red lights for 5V, blue for 3.3V, so you can tell at a glance which rail is live without a meter.
More important than the connector is the PPTC resettable fuse, which limits current to 500mA per module. That is the only built-in overload and short-circuit protection among the plug-in modules here besides the WWZMDiB. Working makers put protection near the top of the list of what they want in a beginner’s supply, because a wiring mistake on a breadboard otherwise takes the module with it.
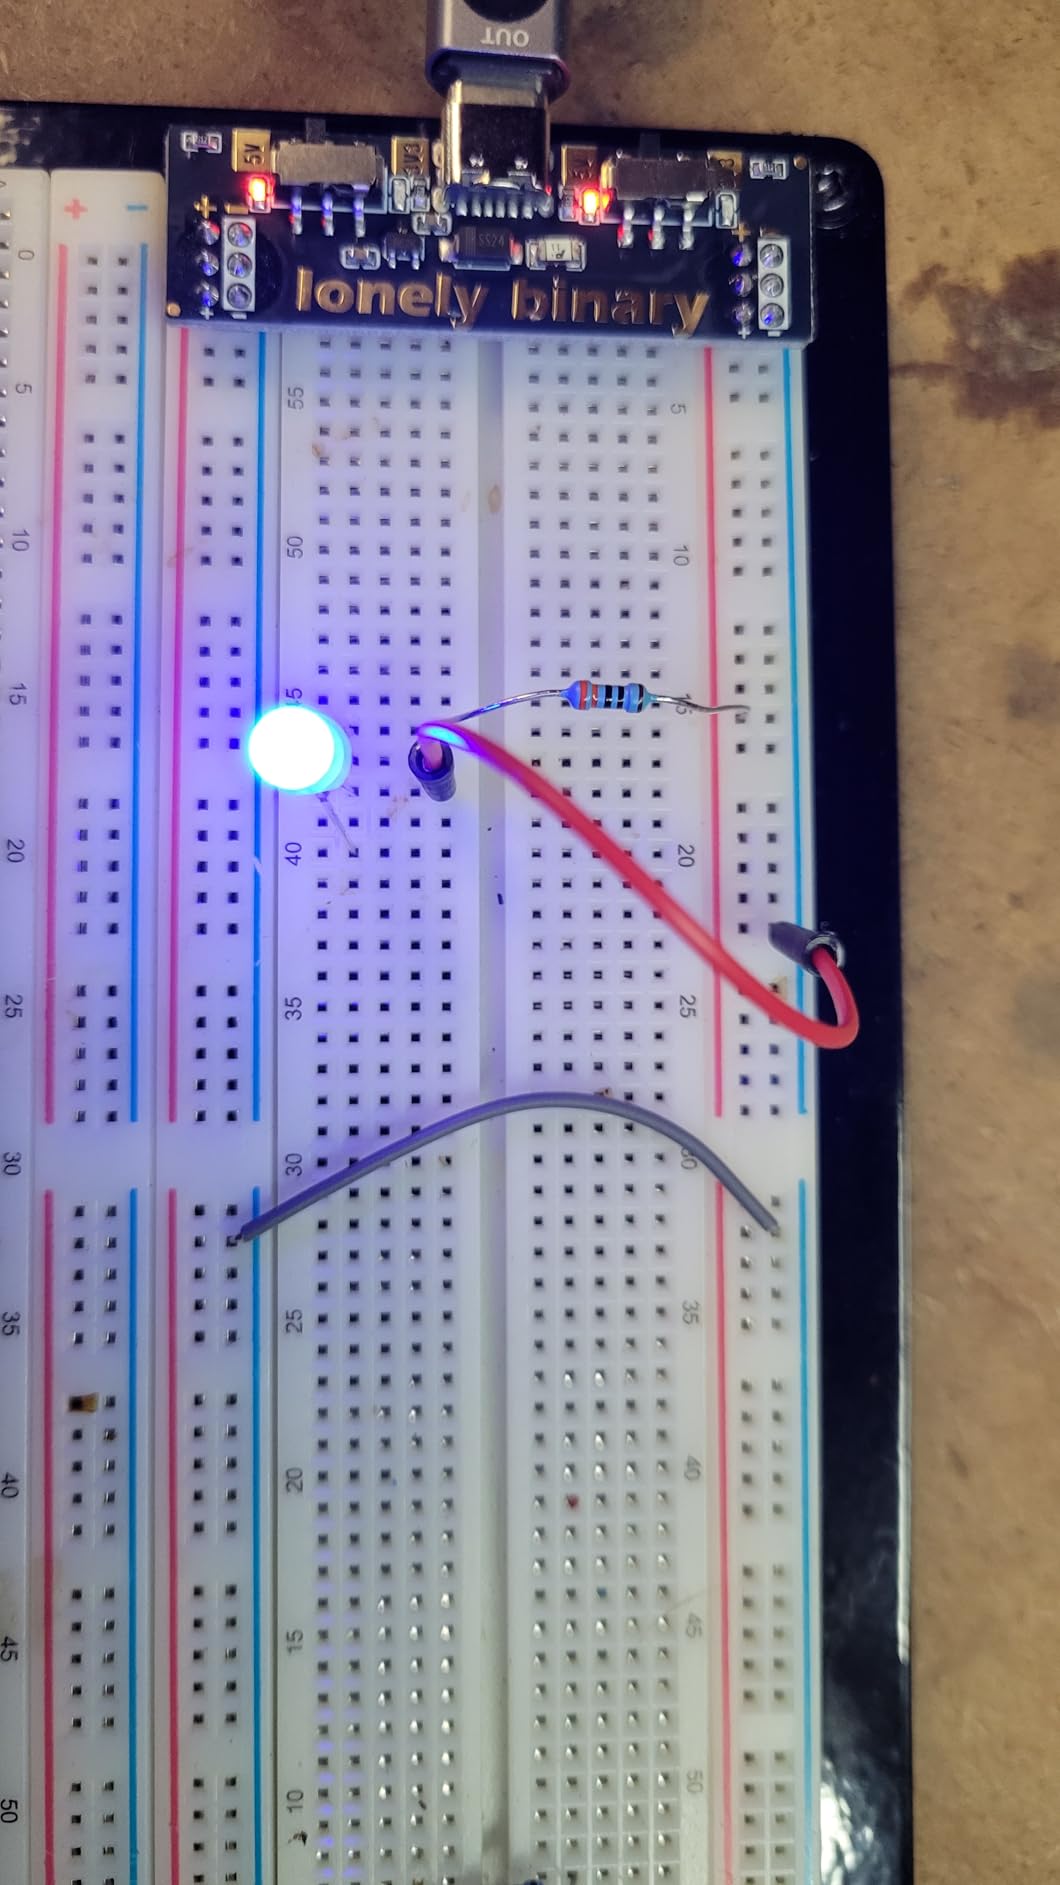
Measured outputs are quoted at roughly 3.27V and 4.92V with minimal drop, and owners report the rails staying stable once seated. At 4.2 stars from 65 reviews, the feedback is positive on the electronics and negative on the mechanics.
That mechanical theme is the one to read carefully. Several reviews report the pins being spaced too far apart to fit certain breadboards, including Elegoo models, and one buyer damaged a board forcing it in. If your breadboard is a known-tight fit, check the pin spacing against the board before you commit. Note also that 500mA per module sits below the 700mA that barrel-fed versions of this class usually manage.
Where USB-C power genuinely helps
Running from a laptop port or a power bank removes the wall supply from the equation entirely, which suits field demos, classroom benches with no outlets and any portable build. It also means your supply is shared with whatever else is on that hub, so a laptop telling you it has reduced a USB port is a signal to move the load.
When to pick something else
Pass on it if your breadboard rejects the pin spacing, if you need more than 500mA, or if your project draws motor current, because the fuse will open before your circuit is satisfied. It is also a poor fit if you need both 3.3V and 5V at once, since the slide switch picks one rail at a time.
6. WWZMDiB 3.3V/5V Module 5-Pack – Best Per-Rail Voltage Control
- Independent NONE / 3V3 / 5V selection on each rail
- Protection against shorts and overvoltage
- Accepts wall adapters
- USB adapters or the included 9V snap connectors
- Five per pack for classroom or multi-project use
- Output voltage runs well below spec on some pieces
- with about 3.8V reported on the 5V side
- One piece failed because its battery cable was broken
- Output on some pieces drifted downward over time
Where most modules in this roundup give you a switch per rail, the WWZMDiB lets each rail be set to NONE, 3V3 or 5V, and the 5-pack includes five 9V battery snap connectors. Input is 6.5-12V DC or USB, so a wall adapter, a USB adapter or a battery all work. Output is under 700mA, and it is designed for both 400-point and 830-point solderless breadboards.
It is also the module with the most explicit protection claim in this class: protection against shorts and overvoltage. That is not a full current limit, and the protection circuitry has its own current rating, but it is meaningfully safer than an unfused linear module for a beginner’s first circuit.
Feedback is split on execution. At 4.2 stars from 65 reviews, the design appeals to hobbyists who want independent per-rail selection, and the safest way to describe the results is that they are inconsistent across pieces.
The voltage accuracy question
The most consistent complaint is that output falls short of the advertised 5V, with reviewers measuring about 3.8V on the 5V side. If you are driving a 3.3V microcontroller, that gap is the difference between working and brownout behaviour, so measure your rails before you build around them. Keep the cheapest piece for experiments and promote the well-behaved one to your main board.
Drift and the failure you should expect
Some owners report output drifting downward over time until the microcontroller shuts down, and one piece failed outright because its battery cable was broken. That combination points to component quality rather than a design fault. Test each module under load for a few minutes before you rely on it, and check the 9V snap lead for continuity if a piece will not start.
7. Oiyagai MB102 Module 5-Pack – Best for Classroom and Lab Use
- Independent rail control sets each side of the breadboard to a different voltage
- Standard MB-102 fit with plug-in headers
- Five modules per pack suits a classroom set or several parallel projects
- Output current limited to 700mA
- Breadboard is not included in the pack
- Fixed output voltages with no adjustability
The Oiyagai 5-pack is a straightforward MB-102 module with two independently controlled rails, each switchable to 0V, 3.3V or 5V. Input is 6.5-12V DC or USB, output is roughly 3.3V or 5V at up to 700mA, and the pack is five modules with no breadboard included.
For a teaching lab or a set of parallel builds, the arithmetic is the argument. Five modules in one box means a bench gets a spare on hand, and the per-rail 0V setting is what lets an instructor isolate one side of a student’s board without pulling wires. Reviewers consistently cite the rail switching and the standard MB-102 fit as the reasons to buy it.
What 700mA means for a class of students
The 700mA figure is the module’s maximum output rating. A microcontroller, a few sensors and a small LED circuit sits far below that, so most student projects are fine. Anything with a servo, a motor or a LED strip is not, and the sensible lab arrangement is one module for the logic rails and a separate supply for the load.
Where it falls short
There is no adjustability beyond the three fixed positions, so a 1.8V or 2.5V part is out of reach without a different module. At 4.1 stars from 75 reviews, the rating is mid-pack, and a ninth of reviewers gave it one star. For a single project at the bench, a one-module product with a longer review history is the better bet.
8. GODIYMODULES LM2596 Multi-Channel – Best Adjustable Multi-Rail Output
LM2596 Multi Channel Switching Power Supply 3.3V/5V/12V/ADJ Adjustable Voltage Output Power Supply Module
- Highest average rating in this roundup at 4.8 with 93% of reviews at five stars
- Presets for 3.3V
- 5V and 12V plus an adjustable output
- 5V-40V input range accepts higher-voltage sources
- 3A rating and 36W output handle loads well beyond small logic circuits
- Not a plug-in breadboard rail module
- it has to be wired to the board
- ADJ output needs a multimeter and adjustment to land on target
- Fewer reviews than the MB102-style modules
The LM2596 multi-channel board is the only product here with a 12V preset output and a continuously adjustable fourth channel, and it is the one to buy if you are past single-board logic. Presets cover 3.3V, 5V and 12V, and the ADJ channel goes wherever you set it. Input accepts 5V to 40V, and the rating is up to 3A at 36W.
That output figure changes what you can attach. A 700mA breadboard module is a logic-level tool. A 3A switching supply can feed a small LED strip, a logic-level motor driver or a bank of sensors, and the 12V preset covers the rail that microcontroller boards cannot give you at all. Working makers on forum.allaboutcircuits describe long-running setups built around a triple-output board for exactly this reason.
Adjustable means you measure it
Set the ADJ channel with a multimeter attached, not by eye. Turning the pot until a circuit looks right is how over-voltage damage happens, and the fact that this is a switching regulator means there is also ripple on the output that a cheap linear module would not have. For analog sensor work, add a decoupling capacitor at the sensor.
Know what you are giving up
This is a wired bench module, not a plug-in rail module, so you are building connections rather than dropping a board onto rails. It also has the thinnest evidence base here at 24 reviews, which means long-term field data is limited even though the ratings are the strongest. The 93% five-star share is a small sample, so treat it accordingly.
9. PEMENOL LM2596 Solder Kit – Best DIY Build for Labs and Makerspaces
- Built-in digital voltmeter confirms the adjustable output before you connect a circuit
- Consolidates 3.3V
- 5V
- 12V and adjustable rails on one board
- Assemblers who finish it report outputs accurate within about 1-2% of setpoint
- Described as a genuinely fun solder project for labs and makerspaces
- Surface-mount parts make assembly difficult for beginners
- One copy arrived without the ICs and produced no correct outputs
- Documentation errors
- including unthreaded holes for the display screws
- Needs roughly 15V DC input
- so an extra supply is required
The PEMENOL kit is the project-based option. You get an LM2596-based multi-output board covering 3.3V, 5V and 12V rails plus an adjustable output, a built-in digital voltage display, and optional negative voltage support for analog work. Once assembled, owners report measured outputs accurate within roughly 1-2% of setpoint.
The display is the feature that changes behaviour. On a board where the adjustable output has no visible indication, the failure mode discussed across maker forums is accidental adjustment while your hand is near the board. Reading the set voltage on a display before you connect a circuit removes that risk, and the centralisation of four rails on one board reduces rewiring errors in a lab full of students.
Budget an afternoon and a bench supply
This needs roughly 15V DC input to power the regulator and distribution circuit, so you need a 15V supply or a USB-C PD board before the kit becomes useful. It also has to be soldered together first, which is the point for a makerspace session and a barrier for a first electronics project.
Where the build gets difficult
Owners repeatedly flag the surface-mount parts, including SMT inductors and small components, as the barrier for beginners. There are also documentation errors, one set of unthreaded PCB holes for the display screws that will likely strip, and one copy that arrived without its ICs and produced no correct outputs after assembly, which the seller resolved with a refund. At 4.1 stars from 17 reviews, treat it as an advanced kit.
10. EIKS 3.3V/5V Module 3-Pack – Budget Pick for a First LED Circuit
- Independently switchable 0V
- 3.3V and 5V settings for both rails
- Two groups of onboard 3.3V and 5V output pins for external leads
- Power indicator LED and push-button switch
- Three modules per pack
- Lowest average rating in this roundup at 4.0 with 12% one-star
- Barrel DC input only with no USB option
- 700mA current ceiling
- Assembly quality reported inconsistent across a pack
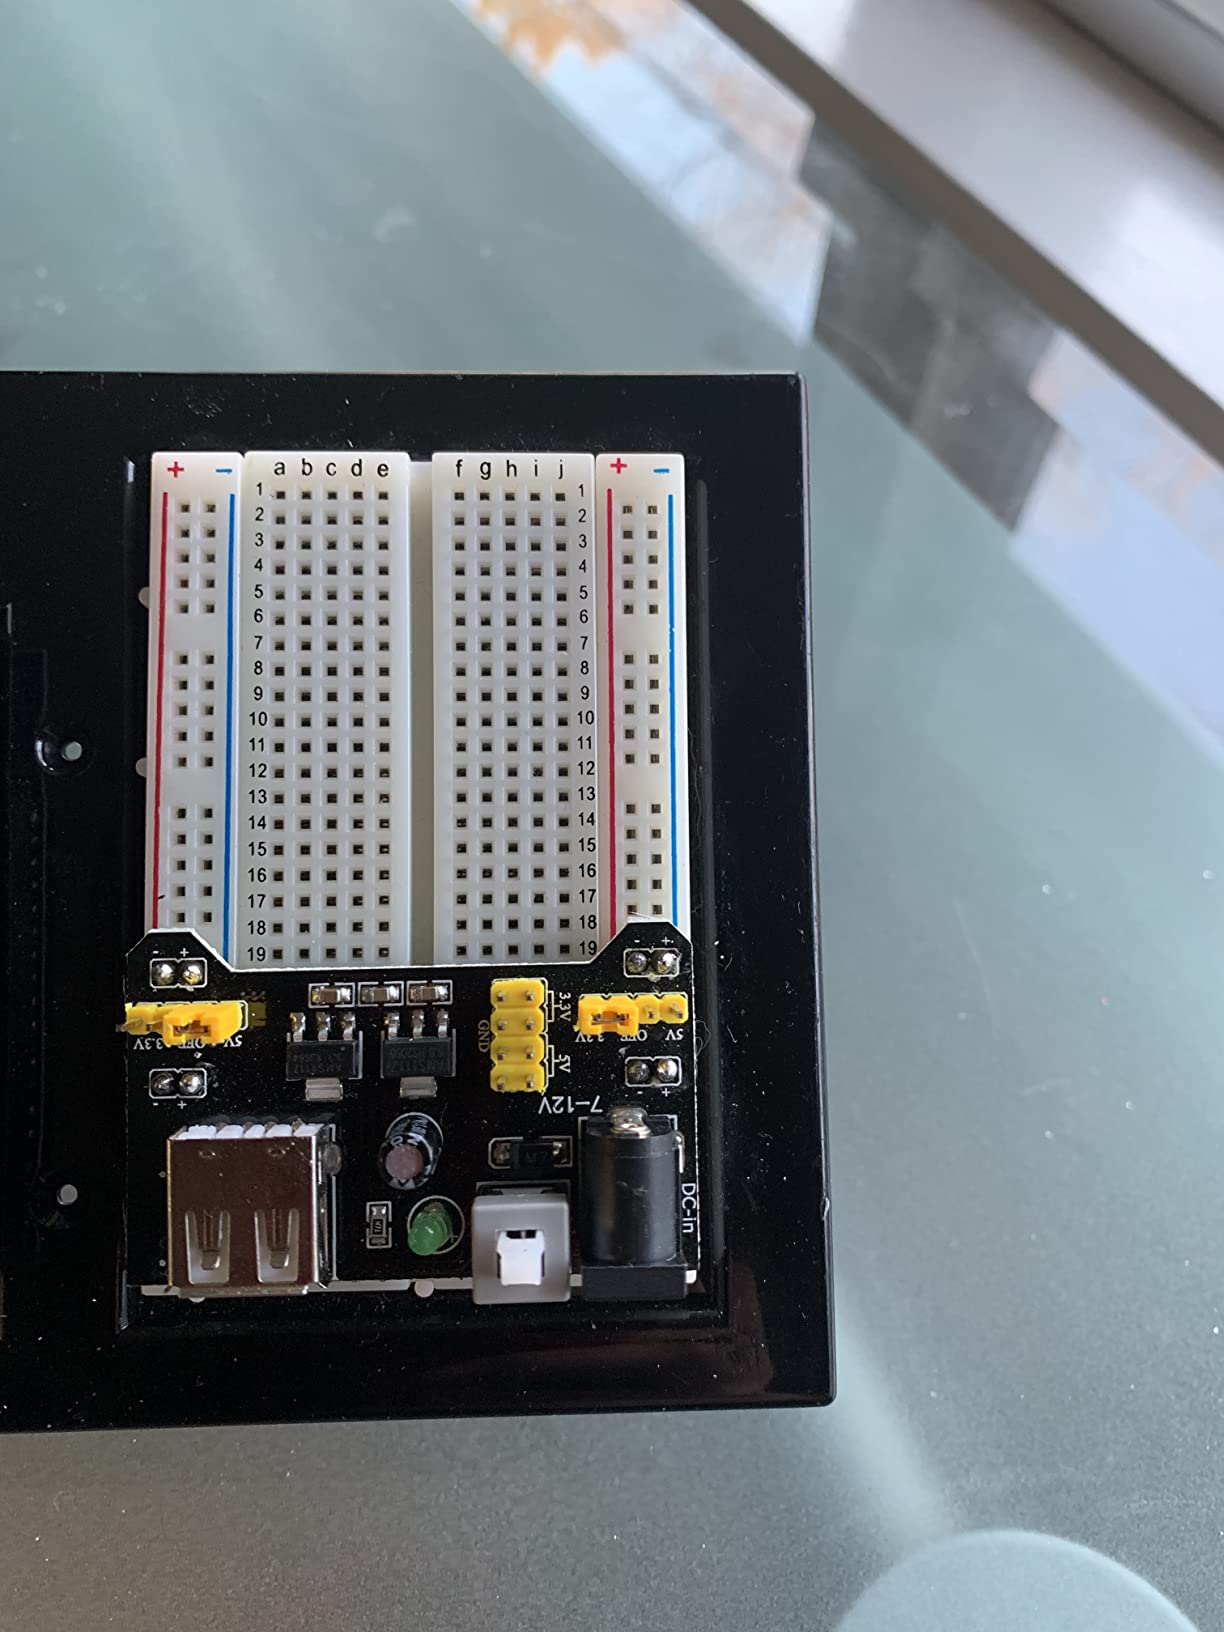
The EIKS 3-pack does the basic job with nothing extra. Two-way independent control switches each rail to 0V, 3.3V or 5V, two groups of onboard 3.3V and 5V output plug pins let you take power off-breadboard, and a power indicator LED with a push-button switch handle cutoff. Input is DC 6.5-12V through a barrel socket, and input current should not exceed 700mA.
It complies with the MB-102 breadboard form factor, which is the compatibility point that matters most for a first purchase. If you are building an LED circuit, a button-triggered input or a single sensor, this covers the job with the extra output pins as a bonus for off-board wiring.
At 4.0 stars from 139 reviews, it carries the lowest average rating in this roundup, with 12% of reviewers giving one star. That share points at inconsistent assembly quality across the pieces in a pack rather than a design problem. Buyers still like the independent rail switching, the extra output pins and the LED with switch.
There is one functional restriction worth noting: the input is barrel DC only, with no USB option. If the only power you have is a laptop or a power bank, this module will not take it, and the Lonely Binary USB-C pack is the one in this list that will.
Good value for a first circuit, weak for anything else
For one LED, a switch and a sensor, the 700mA ceiling is irrelevant and the low per-piece cost is what matters. A resistor in series with every LED is still the rule here, and a beginner asking for how to power a breadboard should start there before adding a module at all.
When to step up
Move to a 5-pack with a longer review record if you are running a lab, or to a USB-C module if you have no barrel supply, or to a wired LM2596 board if you need 12V or more than 700mA. The one-star share here is the reason we would not build a project we care about on an untested piece.
How to Work Out Your Current Budget Before You Buy
Add up the current of everything on the breadboard, then add half again as headroom. An ESP32 with the Wi-Fi radio transmitting in bursts is the usual reason a rail browns out, and commenters on Hackaday identify those current spikes as the specific failure of an otherwise reasonable design. Size for the spike, not the idle figure.
Concretely: an ESP32 with a couple of sensors is a 300-500mA job once you allow for transmission bursts, and a 700mA module handles it. A servo or a stepper driver is a separate supply entirely, because motors and logic on one rail is where noise problems start. A strip of LEDs is measured in watts, and dividing by the rail voltage gives you the current to budget.
For a bench that also has to cut boards or mill enclosures, our guide to the best desktop CNC mills for PCB prototyping covers the mechanical side of moving a circuit out of the breadboard. The power side is where most of the debugging actually happens.
Known Failure Modes – Overheating, Overload and Reverse Polarity
A voltage regulator should feel warm, not hot enough to touch. Electronics.stackexchange threads on breadboard supplies getting hot in under two minutes describe a linear regulator dissipating the gap between input and output as heat, so a 12V input feeding a 5V rail burns roughly 7V worth of power as warmth. Persistent heat means the regulator is undersized for the load, and the module will eventually fail.
The second failure is a short on the breadboard. Modules with no overload protection route that straight into the regulator, and both the Arduino forums and electronics.stackexchange carry reports of modules destroyed by a wiring mistake, sometimes taking attached components with them. The Lonely Binary and WWZMDiB packs in this roundup are the two with a stated short-circuit or overvoltage protection.
The third is reverse polarity. Feed a barrel input backwards into a module with no protection and the regulator can be destroyed immediately, which one HiLetgo reviewer reported. Check polarity at the barrel socket with a meter before you power anything. None of the modules here has a documented reverse-polarity rating, so treat that check as mandatory rather than optional.
Breadboard Compatibility – Will the Module Fit Your Board?
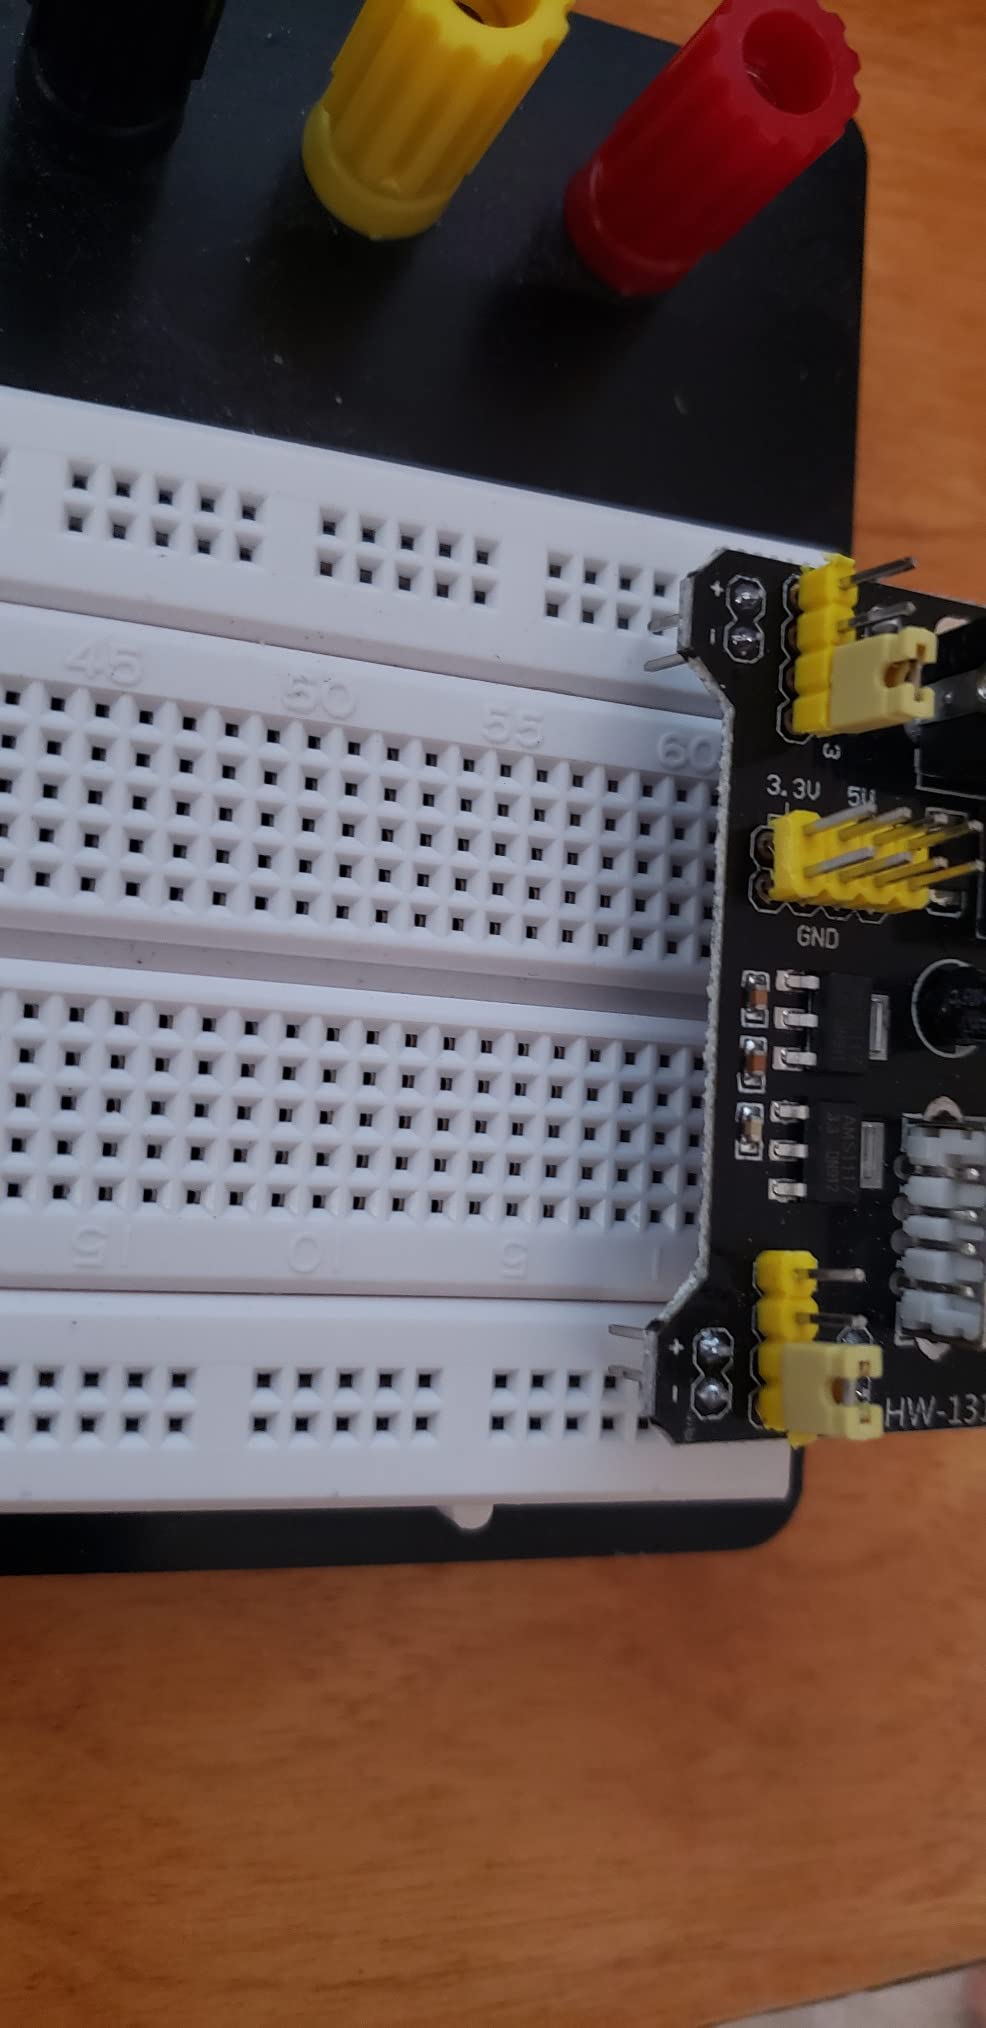
Most modules are built to the MB-102 rail spacing, and most full-size breadboards accept them. The exceptions are the ones worth checking. Lonely Binary buyers report pins spaced too far apart for certain breadboards, including Elegoo models, and one damaged a board forcing the module in. Measure the rail offset on your board and compare it against the module before you plug in.
Rail geometry is a genuine buying criterion for a reason: the two long lines on a breadboard are split down the middle, and the gap between the red and blue lines varies between manufacturers. A module that overhangs the board is not a problem, but a module whose pins sit outside the holes is. If you own a half-size board, confirm the module is not longer than the board itself.
How to Check a New Supply Before You Wire Your Circuit
- Confirm the input source matches the rated window. Every barrel-fed module here is specified for 6.5-12V DC. Check the barrel plug diameter and centre polarity too, since a misfitting plug is how the connection ends up reversed.
- Measure the output with the breadboard empty. Set the rails, attach the module, and read 3.3V and 5V with a multimeter before any circuit is connected. A 3.8V reading on a 5V rail tells you to try another piece.
- Check polarity at the rails. Red to red, blue to blue. Reversed power is the fastest way to destroy a microcontroller and a supply in the same afternoon.
- Power down while wiring. This rule comes up constantly in beginner guidance and is worth keeping: never power a breadboard while you are moving wires on it. Use the module’s switch as your disconnect.
- Add load gradually. Connect one component at a time, watch for a warm regulator, and only then run the full circuit. A warm module under load is information, not a nuisance.
Breadboard vs Perfboard vs PCB – When to Move On
A breadboard is solderless and reconfigurable, which makes it right for exploring an idea and wrong for anything that has to survive being moved. A perfboard is soldered but still hand-routed, so it holds a fixed circuit while letting you change the layout. A PCB is the destination: fixed layout, short traces, no breadboard rail resistance and no accidental disconnections. Moving from a breadboard to a PCB changes the power design as much as the layout, which is the point at which a bench supply with a real current limit starts earning its cost.
Once the circuit is fixed and needs an enclosure, tooling matters as much as the power design does, and our picks for the best large format 3D printers for prototyping cover the larger end of that workflow.
Frequently Asked Questions
What can I use to power my breadboard?
You have four practical options: USB 5V from a charger, laptop or power bank; a barrel-jack DC-DC module that steps 6.5-12V down to fixed 3.3V and 5V rails; a battery feeding the module input for portable work; or a benchtop supply for a readable display and a real current limit. For most Arduino, Pico and ESP32 prototypes, a barrel-jack or USB module is the right answer.
What is the best 12V power supply for breadboards?
None of the plug-in rail modules in this roundup outputs 12V, because they are designed for 3.3V and 5V logic rails. For a 12V rail, the GODIYMODULES LM2596 multi-channel board has a 12V preset plus an adjustable channel, and the PEMENOL solder kit offers the same set. If you need to feed 12V into a module, choose one rated for 6.5-12V DC input.
What is the maximum input voltage for the MB102?
The MB102-style modules covered here are specified for a 6.5-12V DC barrel input, or a USB 5V input where the module offers one. The SunFounder BreadVolt is USB-input only. Exceeding the rated input window destroys the regulator, and the barrel socket has no reverse-polarity protection on any of these modules, so confirm polarity with a meter first.
Should a voltage regulator get hot?
A regulator should feel warm, not hot. A linear module dissipating the gap between input and output as heat is normal, but persistent heat within a minute or two means the load exceeds what the regulator can carry, and the module will eventually fail. Switch-mode boards run cooler. Check the current ceiling against your load before assuming the module is faulty.
How would I know if my voltage regulator is bad?
Measure the output with a multimeter first. A rail that reads well at rest but sags when you connect a load points to a regulator that cannot supply the current, not a dead one. A rail that reads wrong with nothing attached points to a failed regulator or a reversed input. Also check whether the module is being back-fed from another rail, which can pull a good regulator down.
Do breadboard power supply modules fit all breadboards?
Most modules follow the MB-102 rail spacing and fit full-size 400-point and 830-point boards. There are exceptions: Lonely Binary buyers report pins spaced too far apart for some Elegoo boards, and one damaged a board forcing the module in. Check the rail offset on your specific board and confirm the module is not longer than a half-size breadboard before buying.
Conclusion
The SunFounder BreadVolt is our pick for the best breadboard power supplies for prototyping because it combines the highest current rating in the plug-in class, two independent channels, USB input and a real on/off switch in a small footprint. If you want the most proven module per dollar, the HiLetgo 5-pack carries the largest review base in this roundup at 538 ratings. For battery work, the ALAMSCN pack ships with a 9V snap cable. For 12V, adjustable output or loads past 700mA, the LM2596 multi-channel board is the step up.
Whichever you choose, measure the rails before you connect a circuit, keep a resistor in series with every LED, and never rewire a powered breadboard. Check the price on the buttons above, and pick the module whose input matches the power you actually have.